Tuesday, November 13, 2018

Papertrey Ink - Mix Ups Pocket Tags


It's Day Four of Papertrey Ink's November Release countdown. There are so, so many fantastic products this month!

Today I will be showcasing MIX UPS POCKET TAGS, a pocket tag-building set designed by Dawn McVey. 

You can find all the details about these new products HERE.

The November Release products will be available at 10 pm November 15 in the Papertrey Ink store.


I love all of my tag dies, but these new MIX UPS POCKET TAGS are something special! There are three separate tag bases, and then three shaped dies that cut the top edge of the pocket front. You can mix and match to your heart's content, and then just stack and adhere. Voila, you have your pocket! 

In the photo above, you can see the two tag parts I combined. The die I chose for the pocket front, with that arch in the middle, is probably technically upside-down, too. I wanted to experiment with both orientations, and I think they look beautiful both ways. So even more options!


I created my tag from Stamper's Select White cardstock, then ink-blended in Saffron Spice for that golden ombre effect. I added splatter in both Saffron Spice and opaque white.

Next I used the new FOREST FLOOR: WINTER stamps and dies to create the label and the beautiful winter foliage. Did you see all the amazing FOREST FlOOR: WINTER projects on Day Two of the countdown? All I can say is WOW!!


I tucked a gift card down into my pocket and almost stopped there, but decided to use my tag on a card instead. I used the NESTING FRAMES: PIERCED RECTANGLES to add the piercing detail to a Weathervane panel, added some Weathervane shading and some white splatter, and adhered to a Weathervane card base. 

For more featured products and project inspiration, visit the Papertrey Ink blog.

Thanks for stopping by!


Supplies are displayed and linked below. Where available, I have used affiliate links. If you make a purchase through these links, I receive a small commission at no extra cost to you. I appreciate your support!

Sunday, November 11, 2018

Papertrey Ink - Glorious Globes: November + Nesting Frames: Pierced Rectangles


Hello and welcome to Day Two of Papertrey Ink's November Release countdown. If you missed Day One, click HERE to get caught up.

Today I will be helping to introduce two new products: GLORIOUS GLOBES: NOVEMBER and NESTED FRAMES: PIERCED RECTANGLES.

You can find all the details about these new products HERE.

The November Release products will be available at 10 pm November 15 in the Papertrey Ink store.


GLORIOUS GLOBES: NOVEMBER is the latest in Lizzie Jones's fabulous year-long globe series. November's globe images and sentiments are snow-themed, which makes them perfect for the whole winter season.


I started out with my base layer of Papertrey's Stamper's Select White, which I ink-blended in Aqua Mist, Blueberry Sky, and Enchanted Evening. I added some water splatter, as well as watered down Enchanted Evening splatter and opaque white splatter. 

Next I used the NESTING FRAMES: PIERCED RECTANGLES dies to add the stitching detail. This nested set is designed to coordinate with the NESTING BASICS: RECTANGLES collection introduced in yesterday's countdown. Instead of snipping the NESTING FRAMES: PIERCED RECTANGLES apart and using them individually, I kept everything wired together, which made this look super easy to achieve (almost like a cover plate die). 

I do have a confession: I broke my wire snips trying to cut something I shouldn't have, so keeping this set wired together was my only option ;) I love the way it looks, though!


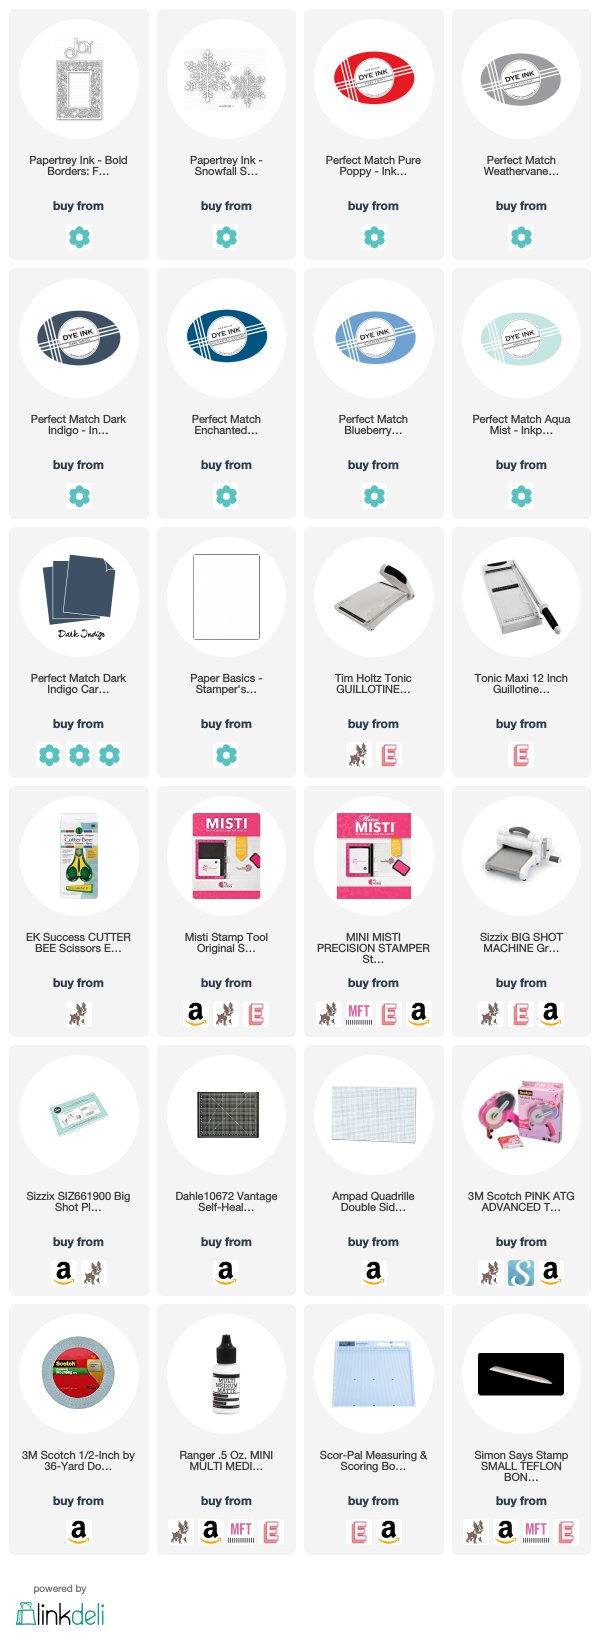
I die-cut two SNOWFALL STYLE 1 snowflakes, coated them with clear glitter and adhered to my background. I stamped two sizes of the globes in Pure Poppy and Weathervane inks. The sentiment is a combination of the "Joy" word die-cut (in Dark Indigo) from last month's BOLD BORDERS: FLURRIES die set and a stamped "to the world" from last month's SENDING JOY set.


For more new product inspiration, visit the Papertrey Ink blog.

Thanks for visiting!


Supplies are displayed and linked below. Where available, I have used affiliate links. If you make a purchase through these links, I receive a small commission at no extra cost to you. I appreciate your support!

Thursday, November 8, 2018

Reverse Confetti November Release Hop


It's Release Day at Reverse Confetti! 

5 stamp sets
7 Confetti Cuts dies
1 6x6 paper pad 

All of the new products now available in the Reverse Confetti store.

Join the Confetti Crew today for a blog hop to celebrate. The hop begins on the Reverse Confetti blog. You should have arrived here from Melissa Phillips's blog.  and you'll head to Lydia Fiedler's blog next. (The full hop order is down below, too.)


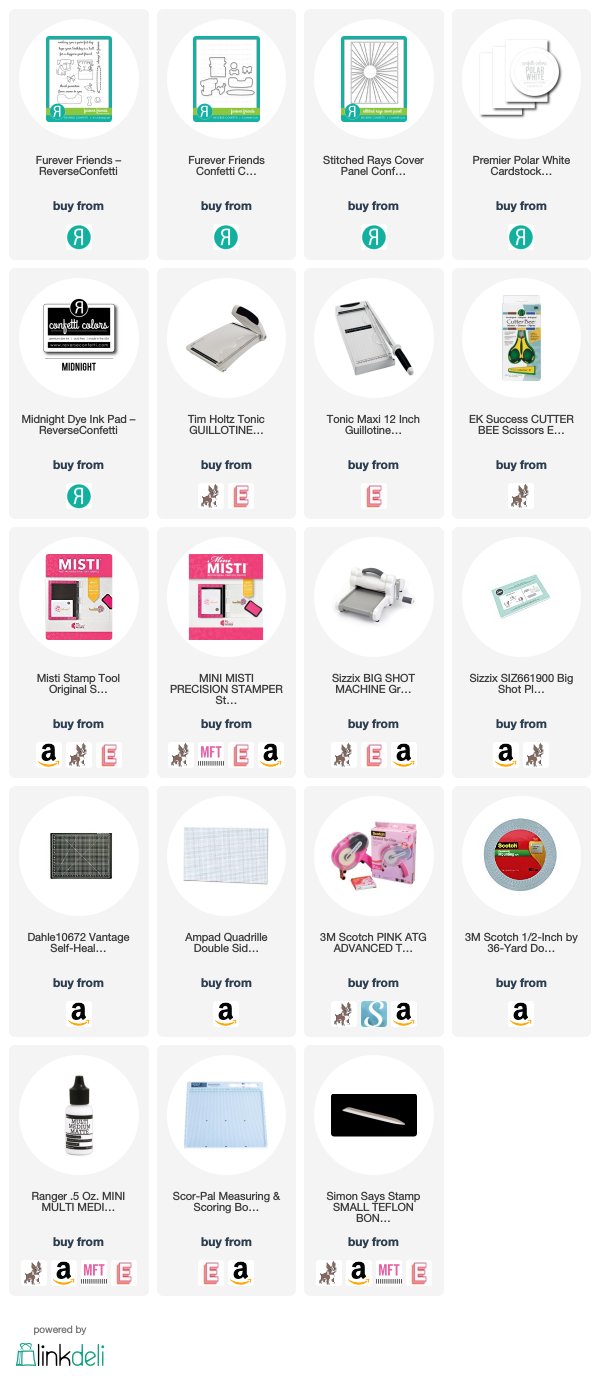
Today I'm sharing a clean-and-simple take on FUREVER FRIENDS. I stamped and colored the sweet pooch and placed him over a STITCHED RAYS COVER PANEL background, then scattered a whole bunch of tennis balls around.


I picked the birthday sentiment and stamped directly onto the cover panel die-cut.


Last, I added a party hat from MONKEY BUSINESS. See? Super simple!


For more new release inspiration, visit the Confetti Crew, 'Fetti Friends, and special guests:


Supplies are displayed and linked below. Where available, I have used affiliate links. If you make a purchase through these links, I receive a small commission at no extra cost to you. I appreciate your support!

Wednesday, November 7, 2018

Countdown to Confetti - Snowflake Magic


It's the third and final day of Reverse Confetti's September release countdown - welcome!

Today's featured product is the gorgeous SNOWFLAKE MAGIC.

All of the new products will be available for purchase at midnight (ET) tonight.


 Don't miss our two chances to win a Reverse Confetti gift certificate: 1) Leave comments on each designer's blog; 2) Head over to our Reverse Confetti Facebook page for an additional giveaway. 


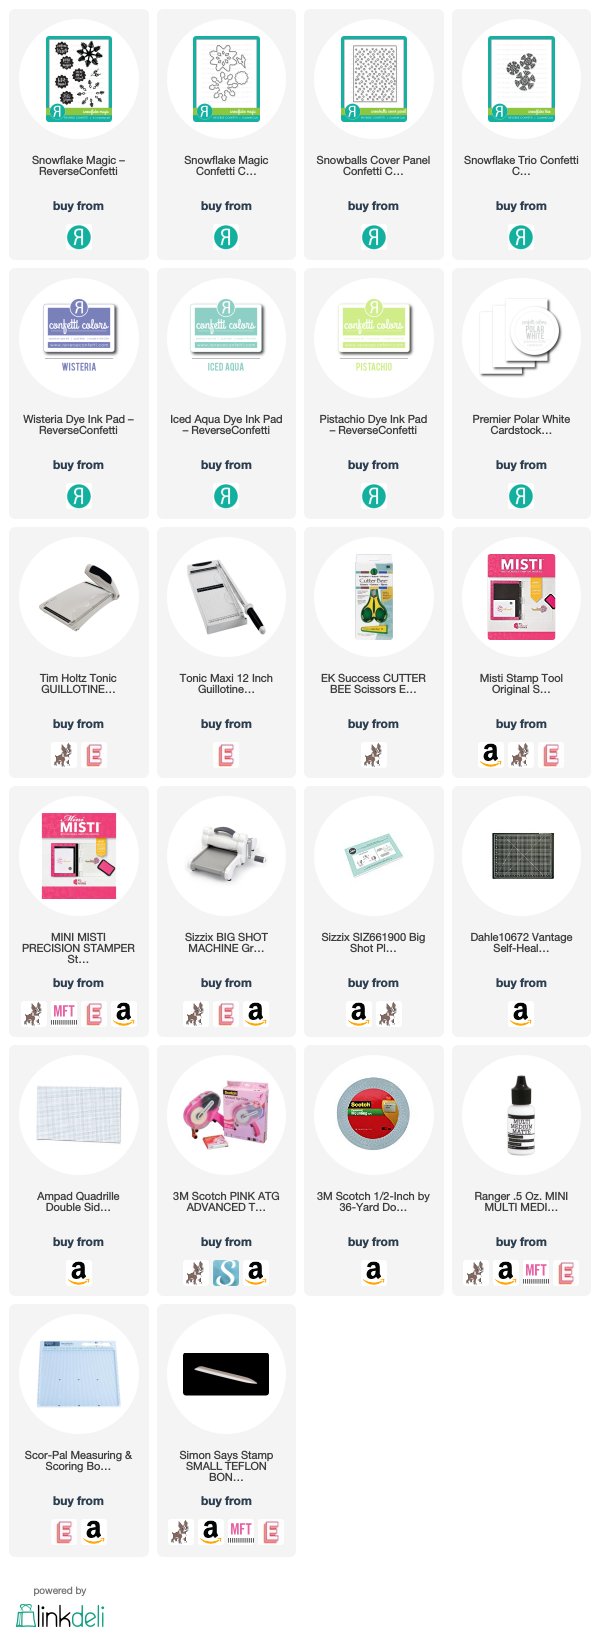
SNOWFLAKE MAGIC is a layering set along the same lines as the popular MY SUNSHINE set from earlier this year. I had a lot of fun playing with the different layering options and experimenting with various color combos. For todays card, I build snowflakes in ICED AQUA, WISTERIA, and PISTACHIO.


Each snowflake is build with three layers. The bottom layer is stamped in a solid ink color, the middle layer is stamped in VersaMark and heat embossed with a glitter embossing powder, then lightly ink-blended on the points. The Pistachio snowflake is topped with a stamped sentiment layer, and the other two are topped with SNOWFLAKE TRIO diecuts. Everything is layered onto a SNOWBALLS COVER PANEL diecut that has been lightly ink-blended in the same colors as the snowflakes.

For more SNOWFLAKE MAGIC inspiration, visit the Confetti Crew and Friends:


Reverse Confetti Blog

Amy Kolling

Melissa Phillips

Deanne Kuntz

Amy Sheffer

Tricia Barber

Kelly Lunceford

Lisa Henke

Amy Rohl

Heather Hoffman

Amy Tsuruta

Kathy Schweinfurth

Audrey Tokach

Jeanne Jachna

Olga Moss


Supplies are displayed and linked below. Where available, I have used affiliate links. If you make a purchase through these links, I receive a small commission at no extra cost to you. I appreciate your support!

Tuesday, November 6, 2018

Countdown to Confetti - Furever Friends and Snow Bunnies


Welcome to Day Two of Reverse Confetti's November release countdown. If you missed Day One, you can catch up HERE.

Today we are introducing two adorable winter-themed critter sets: SNOW BUNNIES and FUREVER FRIENDS

All of the new products will be available for purchase at midnight ET on the 8th. 


 Don't miss our two chances to win a Reverse Confetti gift certificate: 1) Leave comments on each designer's blog; 2) Head over to our Reverse Confetti Facebook page for an additional giveaway. 


My card for today features SNOW BUNNIES as well as a super fun new die called the SNOWBALLS COVER PANEL.

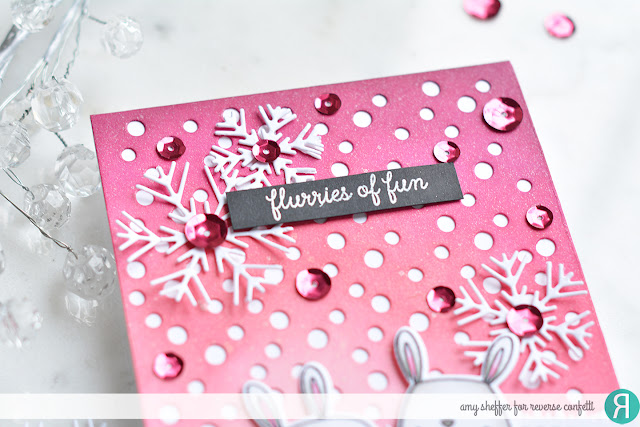
I started with the background. I die-cut a white panel with the new SNOWBALLS COVER PANEL Confetti Cuts and then ink-blended with Flamingo, Magenta, and Wine inks. (My inspiration came from fellow Confetti Crew teammates Tricia and Olga, who always have the best ink-blended backgrounds!) I layered that over a Premier White card base, then added the snowy hills, which were done with a die from the NUTS ABOUT YOU Confetti cuts set. Next comes the ice skaters from the SNOW BUNNIES set, which are colored with Copics.


I added some shimmer spray to the background, a few Snowflake Trio diecuts, a sentiment, and some bright sequins.


For more SNOW BUNNIES and FUREVER FRIENDS inspiration, visit the Confetti Crew and Friends:


Reverse Confetti Blog

Amy Kolling

Melissa Phillips

Deanne Kuntz

Amy Sheffer

Tricia Barber

Kelly Lunceford

Lisa Henke

Amy Rohl

Heather Hoffman

Amy Tsuruta

Kathy Schweinfurth

Audrey Tokach

Jeanne Jachna

Olga Moss


Supplies are displayed and linked below. Where available, I have used affiliate links. If you make a purchase through these links, I receive a small commission at no extra cost to you. I appreciate your support!

Monday, November 5, 2018

Countdown to Confetti - Christmas Circles + Drink More Coffee


It's new release time at Reverse ConfettiJoin us today through Wednesday for our Countdown to Confetti, and again on Thursday for our New Release Hop. The November release includes five stamp sets, seven Confetti Cuts, and one 6x6 paper pad. Today we are featuring CHRISTMAS CIRCLES and DRINK MORE COFFEE (yum!).

All of the new products will be available for purchase at midnight ET on the 8th.  


 We love giveaways! Two chances to win a Reverse Confetti gift certificate: 1) Leave comments on each designer's blog; 2) Head over to our Reverse Confetti Facebook page for an additional giveaway. 


I have a few creations to share today, beginning with these little treat sacks. The basic sacks/totes/boxes were created with the SCALLOPED BAG & TAGS CREATOR, which is a scalloped take on September's pinked-edge BAG & TAGS CREATOR set. I love making these treat sacks. They couldn't be any easier!


This first one was cut from RC Aqua card stock. The stitched perimeter square window die is included in the SCALLOPED BAG & TAGS CREATOR set. I stamped the little circle pattern with an image you'll see more of tomorrow and then tied on a simple tag done with the CHRISTMAS CIRCLES set. The layered tag dies are also in SCALLOPED BAG & TAG CREATOR.


This next one was created with a polka dot pattern from the new WINTER SOLSTICE paper pad. I turned over the scalloped edge on this one, punched two holes through the middle scallop and tied the sack together with some twine and another CHRISMAS CIRCLES tag.


And then for the last one, I first die-cut a panel of Piggy Bank cardstock with the Stitched Rays Cover Panel Confetti Cuts, then cut it with the SCALLOPED BAG & TAGS CREATOR die. I added some WINTER SOLSTICE accents and another CHRISTMAS CIRCLES tag. I adhered it to a second panel around the left, right and bottom to create a flat sack. Perfect size to hold gift cards.


My next project features DRINK MORE COFFEE as well as a new Confetti Cuts: the GRID STITCHED TAG (new favorite!)


I started by randomly stamping the coffee mugs onto a Cloud White card stock panel, embossing in white, and watercoloring in rich browns and grays. I die-cut the GRID STITCHED TAG from vellum and heat embossed a DRINK MORE COFFEE sentiment in black.


The stitching detail on the GRID STITCHED TAG shows up much better on card stock, but you can kind of see it here. I added a topper from Dark Roast card stock and some natural jute string to finish.


For more inspiration visit the Confetti Crew & Friends:


Reverse Confetti Blog

Amy Kolling

Melissa Phillips

Deanne Kuntz

Amy Sheffer

Tricia Barber

Kelly Lunceford

Lisa Henke

Amy Rohl

Heather Hoffman

Amy Tsuruta

Kathy Schweinfurth

Audrey Tokach

Jeanne Jachna

Olga Moss


Supplies are displayed and linked below. Where available, I have used affiliate links. If you make a purchase through these links, I receive a small commission at no extra cost to you. I appreciate your support!