Saturday, December 8, 2018

Reverse Confetti December Hop


Hello, hello! It's hop day at Reverse Confetti. Join us for new creative inspiration as well as a fun look back at the year's favorite projects. Lots of eye candy today!! You should have arrived here from Melissa Phillips  and will be heading to Tricia Barber next. To start at the beginning, head to the Reverse Confetti Blog.


My card for today features DRINK MORE COFFEE from our November release. I stamped and colored two turquoise coffee cups and placed them onto a yellow ink-blended and splattered STITCHED RAYS COVER PANEL diecut. 


I added some clear sequins for a finishing touch.


Each designer has also been asked to share three favorite projects from 2018. 


What can I say? Fall is my favorite, and these FALL FOLIAGE leaves are the best!
Original post HERE.


The sweet HOLIDAY GNOMES are so adorable, and I love the BAG & TAGS CREATOR sacks.
Original post HERE.


My royal wedding card made the cut because it was just so much fun to create! MAGICAL DAY, HANGING BLOOMS, BITTY BANNER, STITCHED RAYS COVER PANEL, and PIERCED ROUND TOP LAYERS.
Original post HERE.


Be sure to check out what the rest of the team as put together for today:


Thanks so much for visiting today. Enjoy the hop!


Supplies are displayed and linked below. Where available, I have used affiliate links. If you make a purchase through these links, I receive a small commission at no extra cost to you. I appreciate you and your support!

Friday, December 7, 2018

More Bells & Baubles - Right At Home


I have two more cards to share today, both featuring Right At Home's new BELLS & BAUBLES stamps and coordinating BELLS & BAUBLES dies. I had so much fun with this set!


For both of today's cards, I used a soft aqua/green/grey/navy color combo. This card gives a good look at five of the six ornaments in the set. (Don't feel bad for the sixth - her day is coming!)


In addition to all the ornaments in the set, there is one sentiment, "Holly Jolly," which fits perfectly into one of the ornaments.


To finish this card, I placed all the ornaments onto a white background and accented with clear sequins.


Same color combo on this card (just different lighting): aqua, green, gray, and navy.


The sentiment is from PEACE LOVE JOY, also by Right At Home. 

I used a portion of one of the ornament layers to stamp some light gray accents, then adhered clear gems to the centers.


I topped these ornaments with baker's twine for some texture. 


Along the left side of the background layer, I did some ink-blending and splattering in light aqua ink. And along the right side, I added a scalloped border and some score lines for a subtle detail.

That's it for today. I have three more cards to share on Sunday. 

Thanks for stopping by!


Thursday, December 6, 2018

Bells & Baubles - Right At Home


I recently had the chance to play around with a new ornament-building stamp set from Right At Home called BELLS & BAUBLES. I think these are just about the most darling ornament images ever -- a little bit whimsical, a little bit vintage, and just delightful! Once I got started, I couldn't stop, as you'll see over the next few days ;)


This first card features five of the six ornament styles. Each ornament has 3-4 different layers, which makes color building and layering super fun. The ornament toppers and bows are separate images too, each with their own coordinating dies.


I arranged all of my ornaments around the large sentiment, which is from the PEACE LOVE JOY set.


Finishing touch was a scattering of clear sequins. This could easily be turned into a one-layer card, too, just by stamping the ornaments directly onto the background. Personally, I'm a messy stamper, so all that stamping onto a *white* background would pretty much be a disaster waiting to happen - ha. The coordinating BELLS & BAUBLES dies are a must for me!


My next card is inspired by Scandinavian holiday decor, which is always a favorite of mine. I love all the neutrals with pops of red.


For this one, I stamped a trio of ornaments in a mix of light grey, dark grey, red, black and white and placed them onto a white-splattered kraft background.


I used the same large PEACE LOVE JOY sentiment, but this time with "from all of us" rather than "wishing you."

That's it for today. Check back tomorrow for more BELLS & BAUBLES.

Hope you're having a great week. Thanks for visiting!


Tuesday, November 13, 2018

Papertrey Ink - Mix Ups Pocket Tags


It's Day Four of Papertrey Ink's November Release countdown. There are so, so many fantastic products this month!

Today I will be showcasing MIX UPS POCKET TAGS, a pocket tag-building set designed by Dawn McVey. 

You can find all the details about these new products HERE.

The November Release products will be available at 10 pm November 15 in the Papertrey Ink store.


I love all of my tag dies, but these new MIX UPS POCKET TAGS are something special! There are three separate tag bases, and then three shaped dies that cut the top edge of the pocket front. You can mix and match to your heart's content, and then just stack and adhere. Voila, you have your pocket! 

In the photo above, you can see the two tag parts I combined. The die I chose for the pocket front, with that arch in the middle, is probably technically upside-down, too. I wanted to experiment with both orientations, and I think they look beautiful both ways. So even more options!


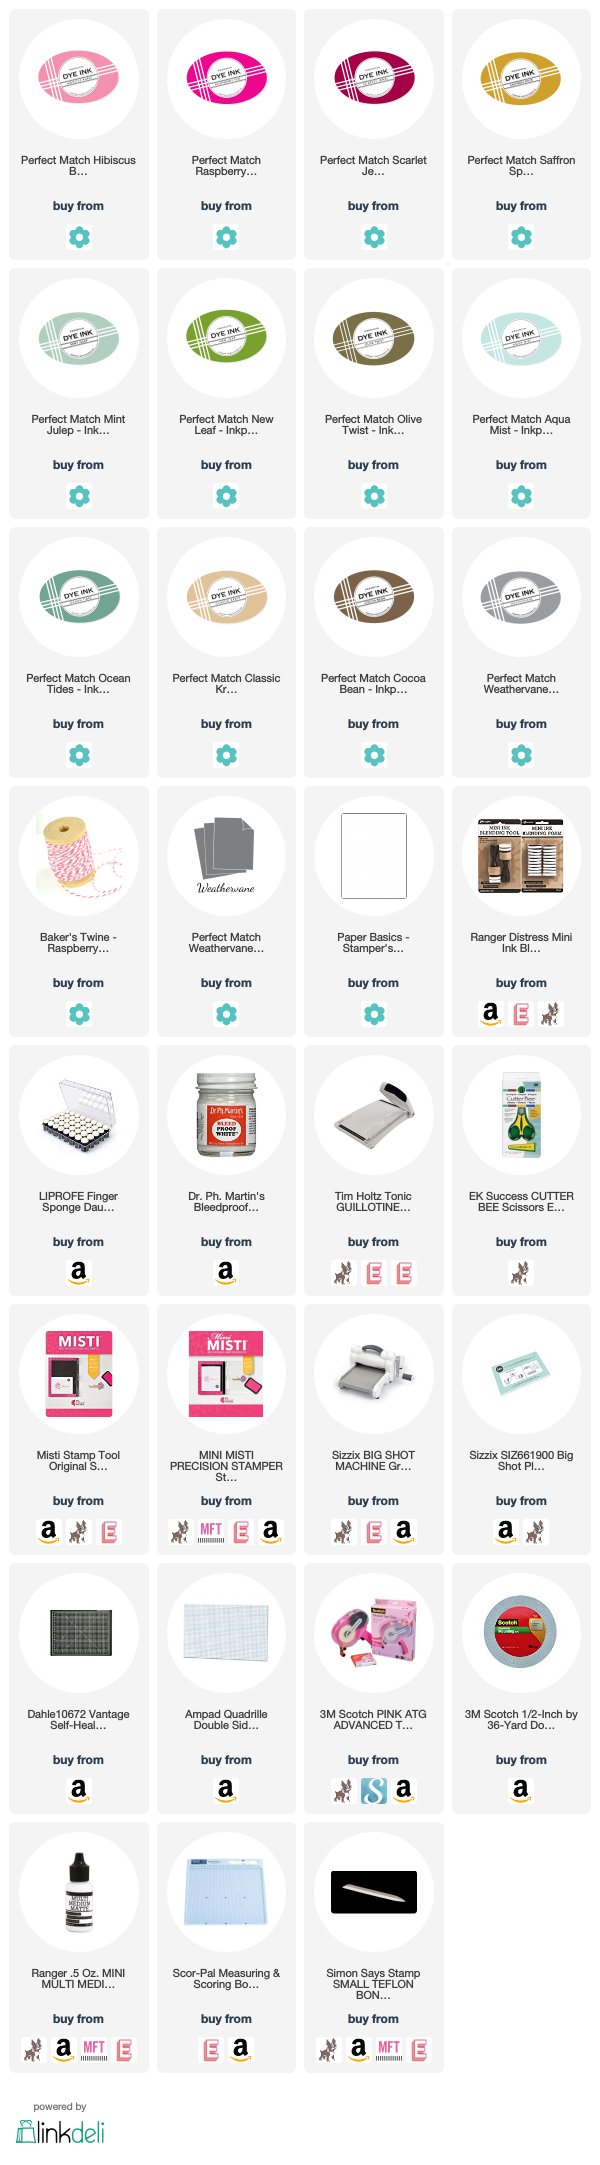
I created my tag from Stamper's Select White cardstock, then ink-blended in Saffron Spice for that golden ombre effect. I added splatter in both Saffron Spice and opaque white.

Next I used the new FOREST FLOOR: WINTER stamps and dies to create the label and the beautiful winter foliage. Did you see all the amazing FOREST FlOOR: WINTER projects on Day Two of the countdown? All I can say is WOW!!


I tucked a gift card down into my pocket and almost stopped there, but decided to use my tag on a card instead. I used the NESTING FRAMES: PIERCED RECTANGLES to add the piercing detail to a Weathervane panel, added some Weathervane shading and some white splatter, and adhered to a Weathervane card base. 

For more featured products and project inspiration, visit the Papertrey Ink blog.

Thanks for stopping by!


Supplies are displayed and linked below. Where available, I have used affiliate links. If you make a purchase through these links, I receive a small commission at no extra cost to you. I appreciate your support!

Sunday, November 11, 2018

Papertrey Ink - Glorious Globes: November + Nesting Frames: Pierced Rectangles


Hello and welcome to Day Two of Papertrey Ink's November Release countdown. If you missed Day One, click HERE to get caught up.

Today I will be helping to introduce two new products: GLORIOUS GLOBES: NOVEMBER and NESTED FRAMES: PIERCED RECTANGLES.

You can find all the details about these new products HERE.

The November Release products will be available at 10 pm November 15 in the Papertrey Ink store.


GLORIOUS GLOBES: NOVEMBER is the latest in Lizzie Jones's fabulous year-long globe series. November's globe images and sentiments are snow-themed, which makes them perfect for the whole winter season.


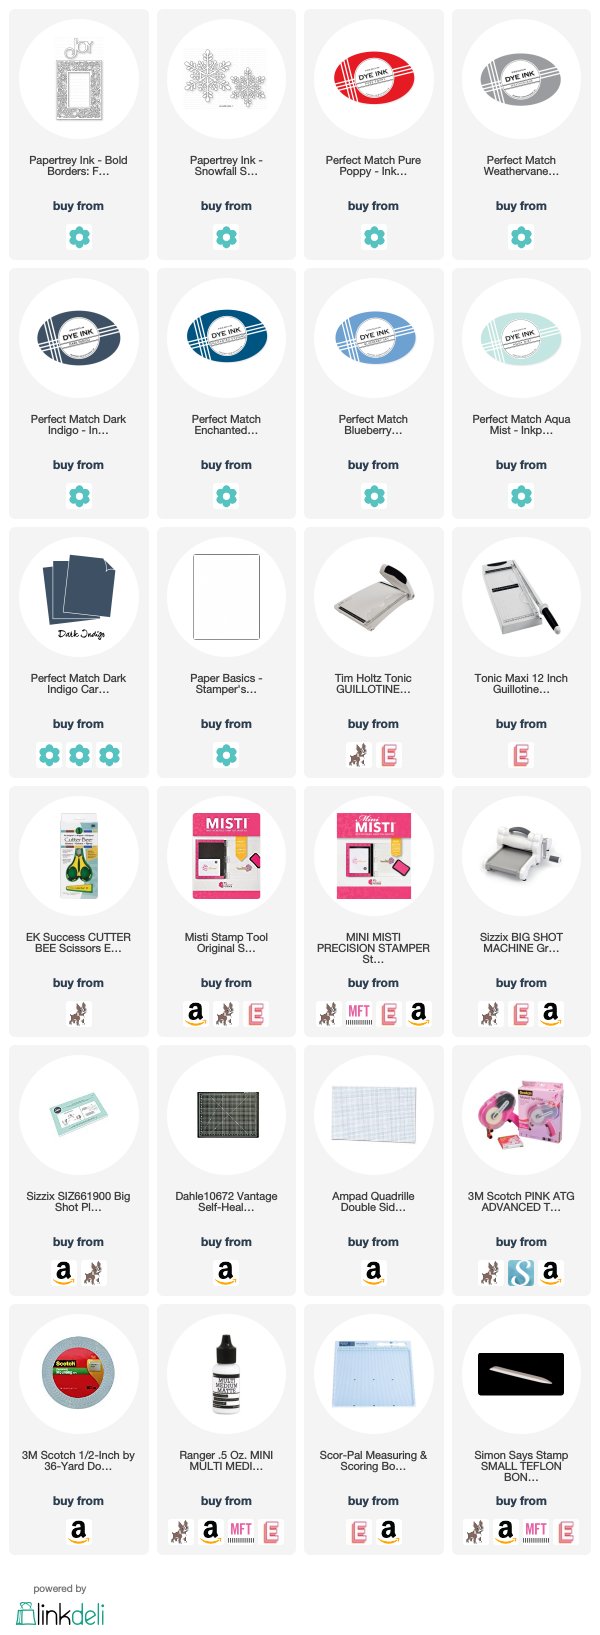
I started out with my base layer of Papertrey's Stamper's Select White, which I ink-blended in Aqua Mist, Blueberry Sky, and Enchanted Evening. I added some water splatter, as well as watered down Enchanted Evening splatter and opaque white splatter. 

Next I used the NESTING FRAMES: PIERCED RECTANGLES dies to add the stitching detail. This nested set is designed to coordinate with the NESTING BASICS: RECTANGLES collection introduced in yesterday's countdown. Instead of snipping the NESTING FRAMES: PIERCED RECTANGLES apart and using them individually, I kept everything wired together, which made this look super easy to achieve (almost like a cover plate die). 

I do have a confession: I broke my wire snips trying to cut something I shouldn't have, so keeping this set wired together was my only option ;) I love the way it looks, though!


I die-cut two SNOWFALL STYLE 1 snowflakes, coated them with clear glitter and adhered to my background. I stamped two sizes of the globes in Pure Poppy and Weathervane inks. The sentiment is a combination of the "Joy" word die-cut (in Dark Indigo) from last month's BOLD BORDERS: FLURRIES die set and a stamped "to the world" from last month's SENDING JOY set.


For more new product inspiration, visit the Papertrey Ink blog.

Thanks for visiting!


Supplies are displayed and linked below. Where available, I have used affiliate links. If you make a purchase through these links, I receive a small commission at no extra cost to you. I appreciate your support!

Thursday, November 8, 2018

Reverse Confetti November Release Hop


It's Release Day at Reverse Confetti! 

5 stamp sets
7 Confetti Cuts dies
1 6x6 paper pad 

All of the new products now available in the Reverse Confetti store.

Join the Confetti Crew today for a blog hop to celebrate. The hop begins on the Reverse Confetti blog. You should have arrived here from Melissa Phillips's blog.  and you'll head to Lydia Fiedler's blog next. (The full hop order is down below, too.)


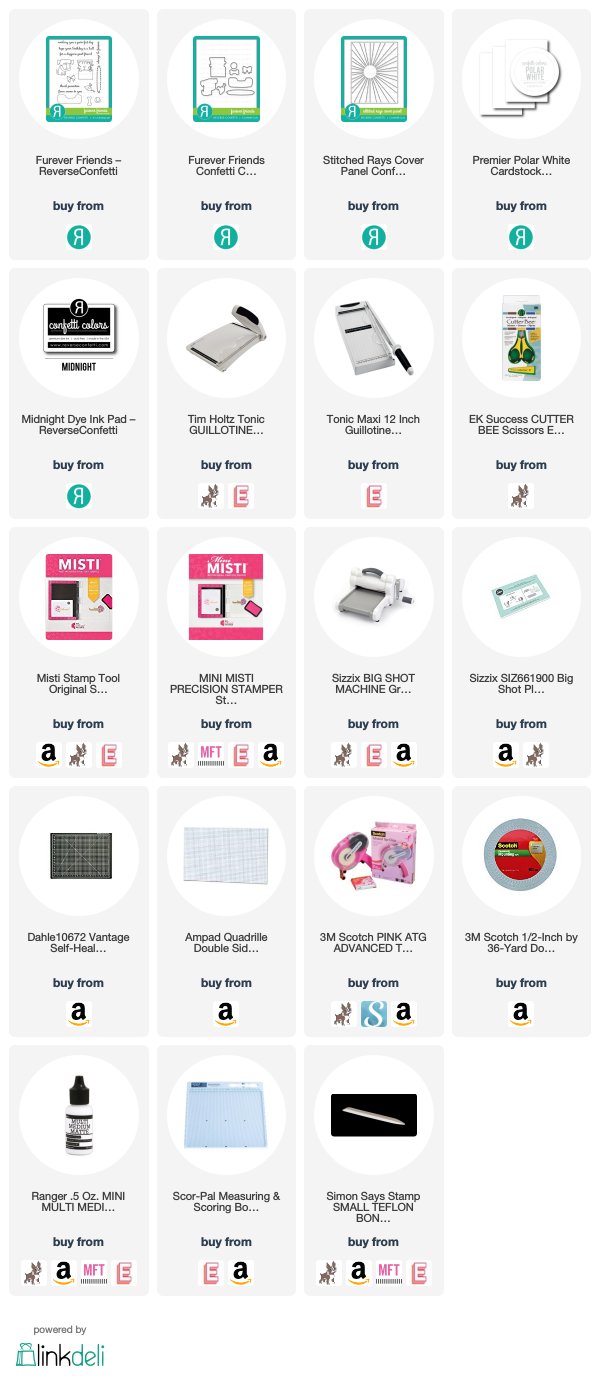
Today I'm sharing a clean-and-simple take on FUREVER FRIENDS. I stamped and colored the sweet pooch and placed him over a STITCHED RAYS COVER PANEL background, then scattered a whole bunch of tennis balls around.


I picked the birthday sentiment and stamped directly onto the cover panel die-cut.


Last, I added a party hat from MONKEY BUSINESS. See? Super simple!


For more new release inspiration, visit the Confetti Crew, 'Fetti Friends, and special guests:


Supplies are displayed and linked below. Where available, I have used affiliate links. If you make a purchase through these links, I receive a small commission at no extra cost to you. I appreciate your support!