
Welcome to Day 4 of Papertrey Ink's January release countdown. Today's featured products are: Birthday Balloons stamps and die, Birthday Strings, Birthday Balloons Stencils, and Never Enough.
All of the new products will be available at 10 pm ET January 15 in the Papertrey Ink store.
I have a few projects so share featuring the Birthday Balloons stamp collection.

Birthday-themed products are always a favorite. So festive and cheerful, and probably the type of card I need most often. The new Birthday Balloons set is perfect for whipping up this quick, clean-and-simple card.

I started by die-cutting three balloons, then stamped two of them with the balloon "filler" images. For the third balloon, the Raspberry Fizz one, I added some subtle sentiment stamping.

I had fun doing my balloon strings in three different ways. The typewriter font "let's party" and "good times," along with the curvy Raspberry Fizz traditional string are part of the Balloon Strings stamp set. "Celebrate" comes from the Birthday Strings set. (The full sentiment is "time to celebrate." I selectively stamped just the word "celebrate," and used a black pen to extend the string.)
Supplies:
STAMPS: Birthday Balloons, Balloon Strings
INK: Tropical Teal, Raspberry Fizz, Limeade Ice, True Black, Fresh Snow
PAPER: Stamper’s Select White, Tropical Teal, Raspberry Fizz, Limeade Ice
DIES: Birthday Balloons
OTHER: True Black baker’s twine

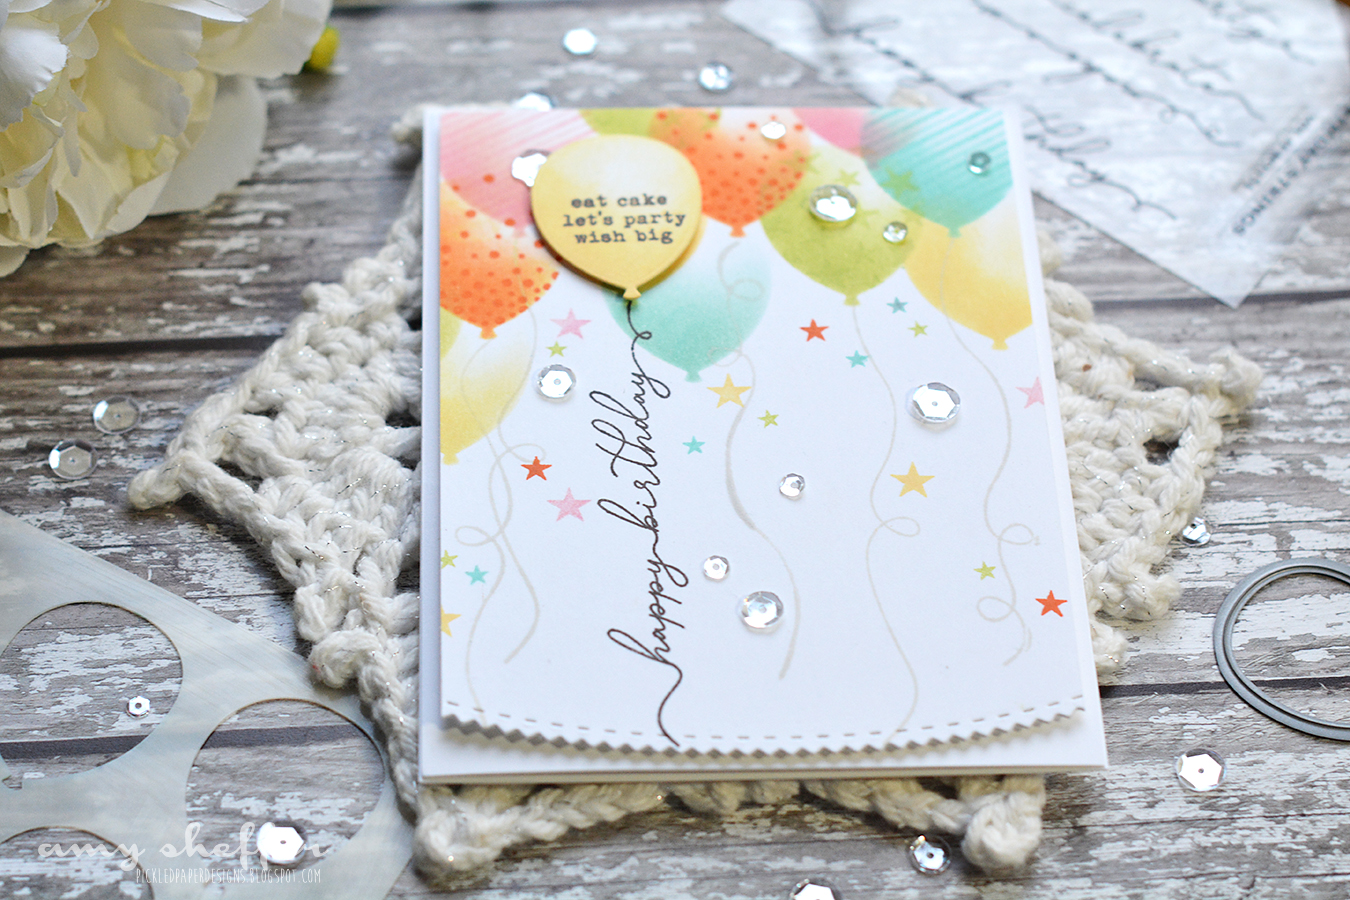
I just love all the colorful balloons on this one! I used one of the Birthday Balloons Stencils to do those, repositioning the stencil to create all the overlapping balloons. I did not do any masking and just let the ink overlap, creating the realistic look of slightly see-through balloons. I also really love the different balloon filler images in the Birthday Balloons stamp set: diagonal stripes, stars, and circles.

I stamped some of the adorable typewriter sentiments on a balloon die-cut and popped it up for some extra focus.

The bottom is filled with Soft Stone strings from the Birthday Balloons set and a crisp True Black Birthday Strings sentiment. Sequins and colorful stamped stars add to the whole festive feel!
Supplies:
STAMPS: Birthday Balloons, Balloon Strings
INK: Pale Peony, Orange Zest, Summer Sunrise, Harvest Gold, Green Parakeet,
Hawaiian Shores, True Black, Soft Stone
PAPER: Stamper’s Select White
DIES: Round Off Edgers
OTHER: clear sequins, Birthday Balloons stencils

And last up is a card that shows some fun things you can do combining the Birthday Balloons Stencils and Birthday Balloons stamps. On a Tropical Teal card base, I stenciled the balloons, creating depth by shading with Tropical Teal and Fresh Snow.

With the stencil still in place, I added the balloon filler images on some and tiny sentiment stamping on others. This technique of filling a stenciled shape with stamping is one of my favorites! So easy, yet eye-catching! I drew attention to one balloon by die-cutting it, popping it up, and added a stamped string.
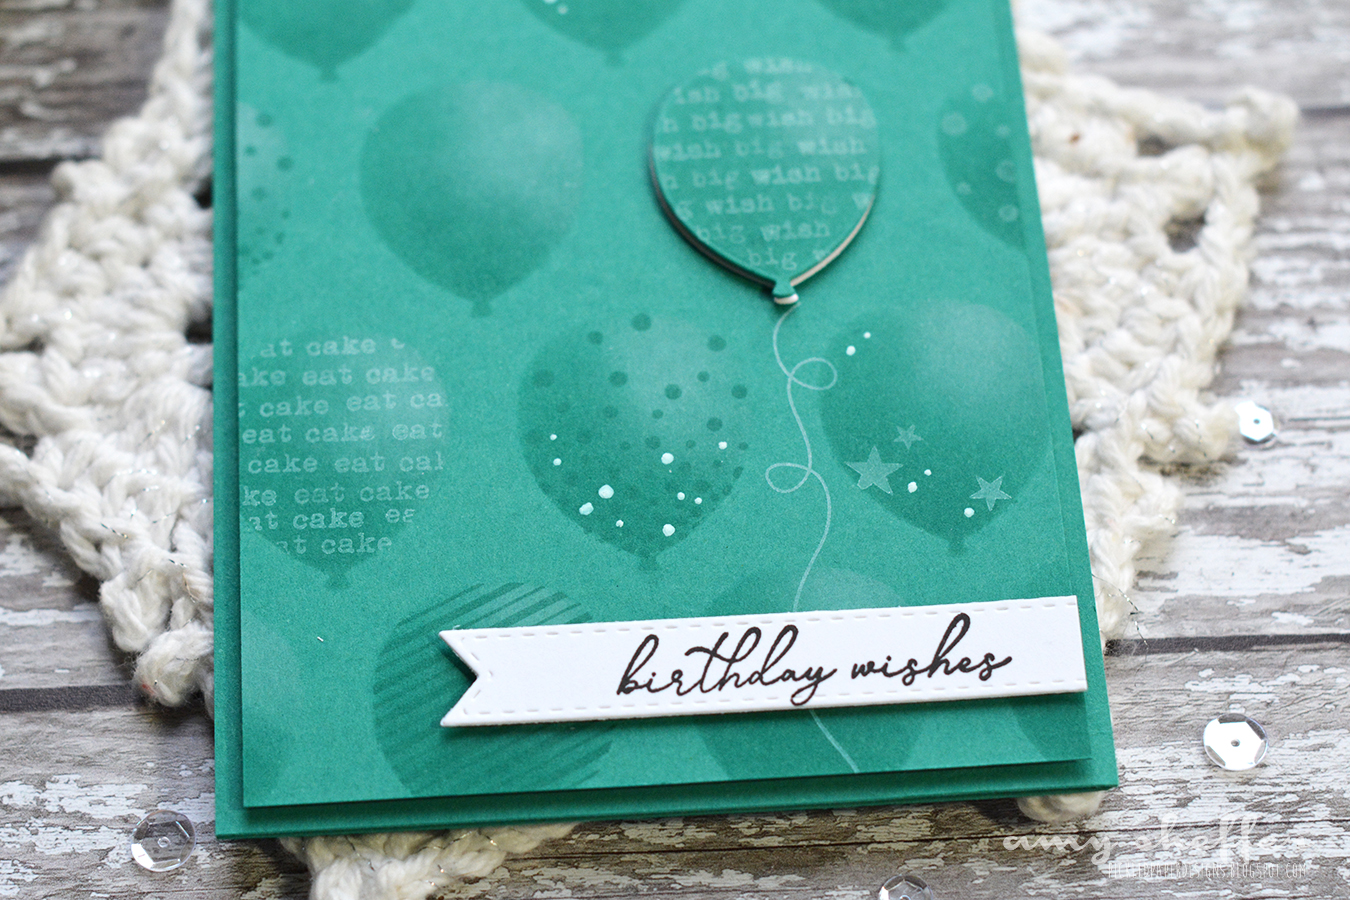
Last is a stamped Birthday Balloons sentiment on a white banner for some pop. I went back and added just a few white gel pen accents to brighten the background, too.
Supplies:
STAMPS: Birthday Balloons
INK: Fresh Snow, Tropical Teal, True Black
PAPER: Stamper’s Select White and Tropical Teal
DIES: Birthday Balloons, Tag Sale: Quilted
OTHER: Birthday Balloons stencils
For lots more birthday inspiration, visit the Papertrey Ink blog.
Thanks so much for visiting today!


