Friday, April 7, 2017

Queen & Co: Washi Tape Birthday Cards

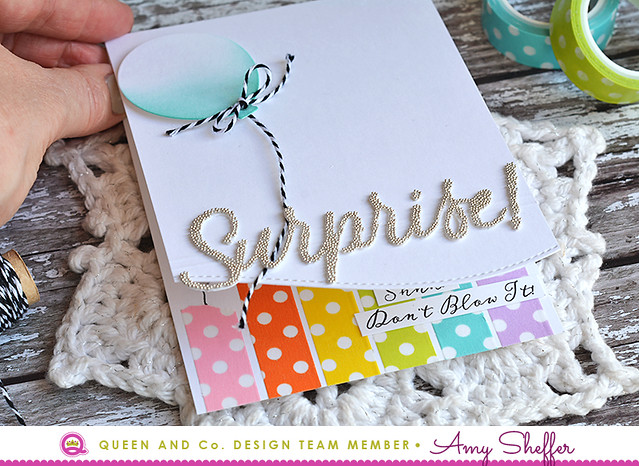
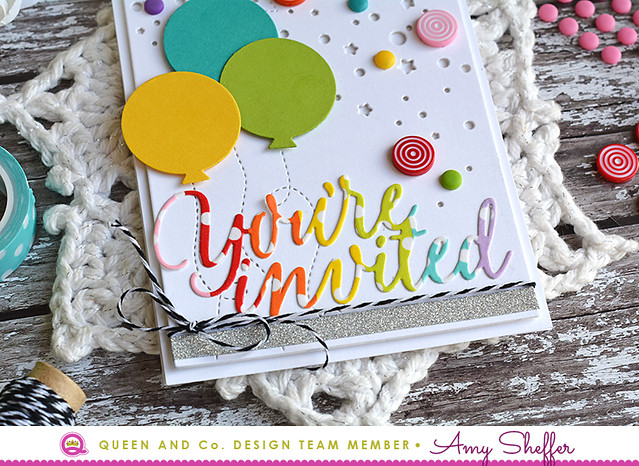
Hi there, I'm over on the Queen & Co. blog today with a pair of colorful birthday cards featuring some of my very favorite things: lots of white space, rainbow colors, black and white twine, and polka dots!

Queen & Co. | Washi Tape

If you're like me, you've collected quite the stash of washi tape, but maybe don't use it as often as you could. Well guess what? Washi tape is the main event on the Queen & Co. blog all month long!

The card above has a fun inside-to-out design element done with washi tape.


Queen & Co. | Washi Tape

And this next card features a rainbow washy-tape covered sentiment die-cut grounded with even more washi tape, this time silver metallic.

Click on over to the Queen & Co blog for more on these cards.

Thanks for stopping by!


SaveSave
SaveSave

Thursday, April 6, 2017

Miss You Shaker

Jillibean Soup | Miss You Shaker

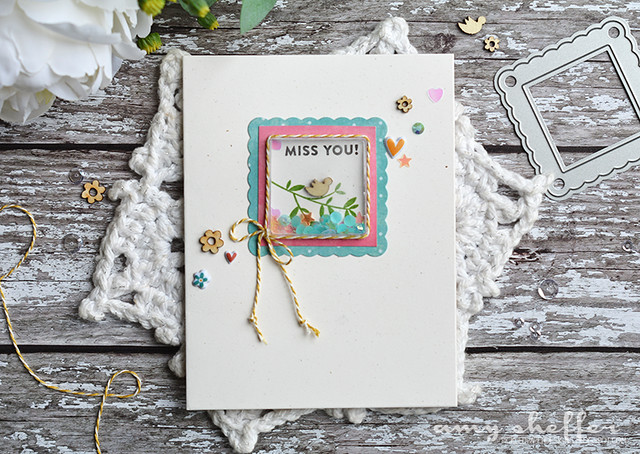
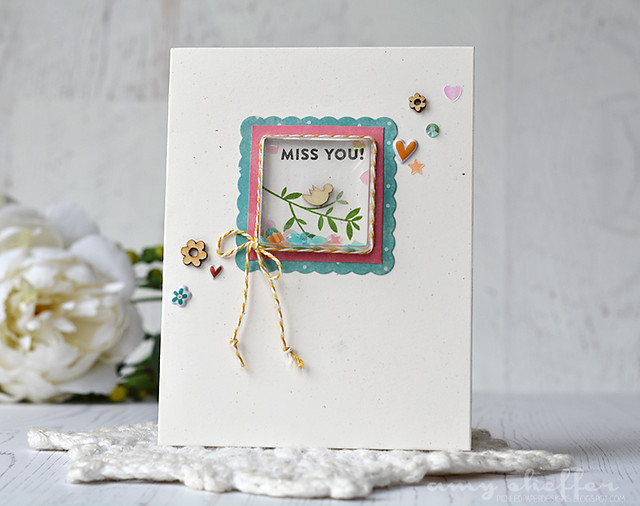
Today's card was on the Jillibean Soup blog earlier this week, and I've already shared it on Instagram, but I wanted to post more pictures and details here. Clean-and-simple card-making isn't my forte, but this one turned out so sweet and charming!


Jillibean Soup | Miss You Shaker

I started with some of Jillibean Soup's Shape Shakers products -- the Square Shaker Card base, the Square Shaker, and Square Die Set

These card bases have the shaker windows pre-cut, so I just stamped the branch and sentiment inside the window, adhered the wood veneer bird, added a bit of sequin and gem filler, and sealed up the shaker. 


Jillibean Soup | Miss You Shaker

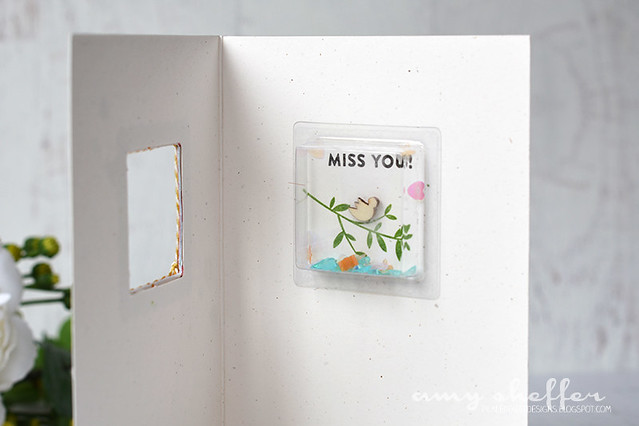
The shaker itself adheres to the inside and shows through the opening when the card is closed. I love how this way the inside is decorated too.


Jillibean Soup | Miss You Shaker

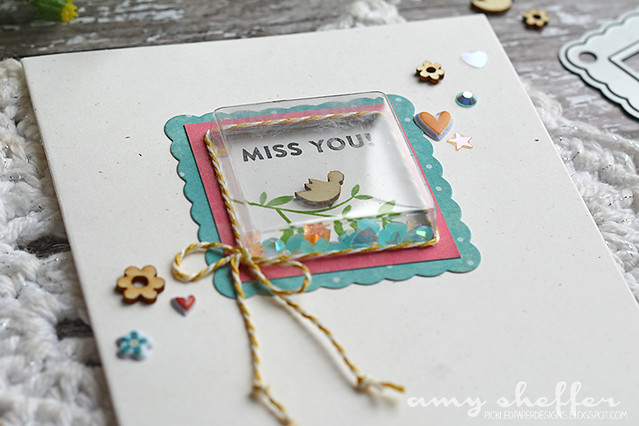
I had a little "what was I thinking?" moment when I tried to open the card and realized I had made it un-openable by adding that twine around the perimeter of the shaker. (Since the shaker is adhered to the inside, it has to fit through the opening. That extra twine around the shaker made it too big to fit through.) I pulled the twine off the shaker and carefully adhered the twine to the card stock frame (using a strong liquid adhesive!) so that the card could actually open. Problem solved!


Jillibean Soup | Miss You Shaker

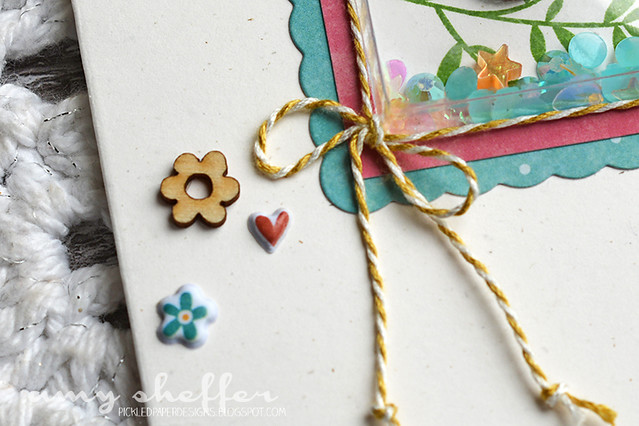
The pink and blue frames were both cut with the Square Die set. I just trimmed the scallops off the pink one for the layered look. Last touches were some scattered puffy stickers, sequins, and wood veneer flowers.

Look for Jillibean Soup products at your favorite scrapbook store (online or brick-and-mortar), or shop the Jillibean Soup retail store.


Jillibean Soup Supplies:
Shaker Card and Insert:  Square
Shaker Die:  Square
Shaker Stamps:  Picture Perfect
Stamps and Dies:  Latte
Shaker Fillers:  Watercolor
Stamps:  Bowl of Dreams
Beanstalks:  Mustard
Wood Veneers:  Souper Celebration
Puffy Stickers:  Bowl of Dreams

Other:  ink.

Thanks for visiting!


Wednesday, April 5, 2017

Circle Wishes Birthday Tag Set - Wednesday in the Works

Circle Wishes Birthday Tags

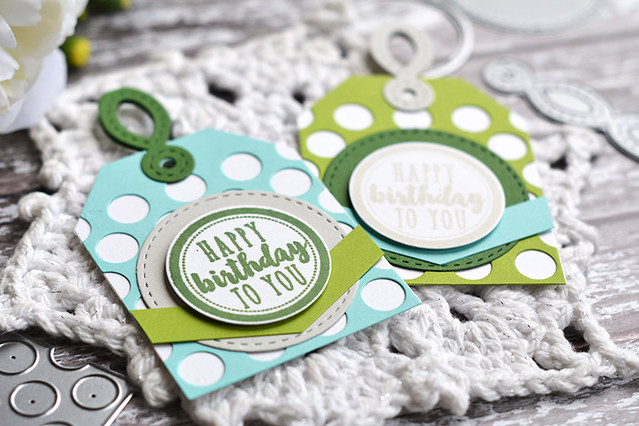
I'm over on the Reverse Confetti blog today with a new Wednesday in the Works project and video. This week, I'll be looking at the Topped Off Tag, Tag Toppers, and Tag Layers series, as well as sharing an assembling line tip you can use to save time when making multiples.

Hope you'll join me over there! 

Thursday, March 30, 2017

National Craft Month Celebration Blog Hop


Hi there, I'm excited to be joining Right At Home today for their National Craft Month Celebration Blog Hop. I can't think of a better reason to hop than celebrating the crafting hobby and community we all love so much!

You should have arrived here from crafting rockstar Laurie Willison. If not, you can find the beginning of the hop HERE with Nicole from Right At Home

Check out this absolutely darling stamp set, Make Something Beautiful, that Right At Home is releasing for this occasion! Hop with us and comment along the way for a chance to win this set.


Right At Home | Make Something Beautiful

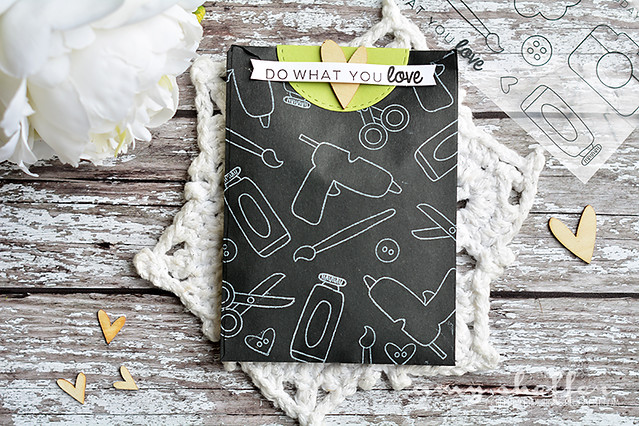
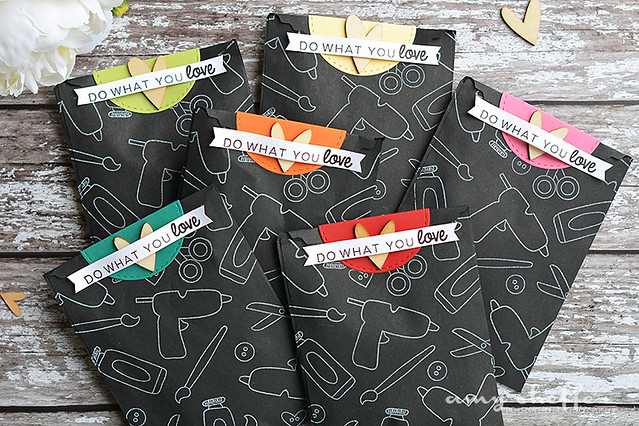
Make Something Beautiful is perfect for all kinds of crafter-to-crafter cards and gifts! I decided to put together some quick and simple gift bags for some of my crafty friends. 

Right At Home | Make Something Beautiful

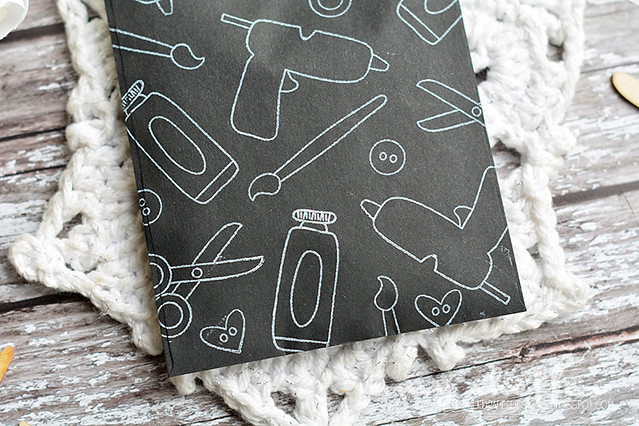
I started with some chalk paper bags from Jillibean Soup, then stamped some of the images randomly in white ink for that chalkboard look. 

Right At Home | Make Something Beautiful

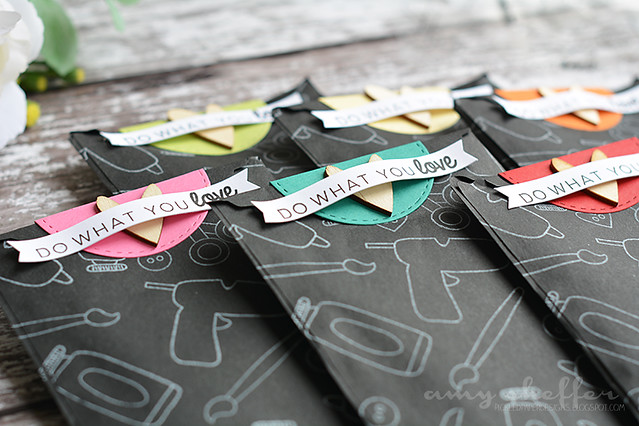
After filling each one with crafty goodies, I folded a circle die-cut over the top, then added a wood veneer heart and the "do what you love" sentiment. 


Right At Home | Make Something Beautiful

These came together in minutes and look fantastic thanks to the adorable images. I can't wait to share these at my next crafty outing!

I am the last stop on today's hop. Thanks so much for joining us today!


Sunday, March 26, 2017

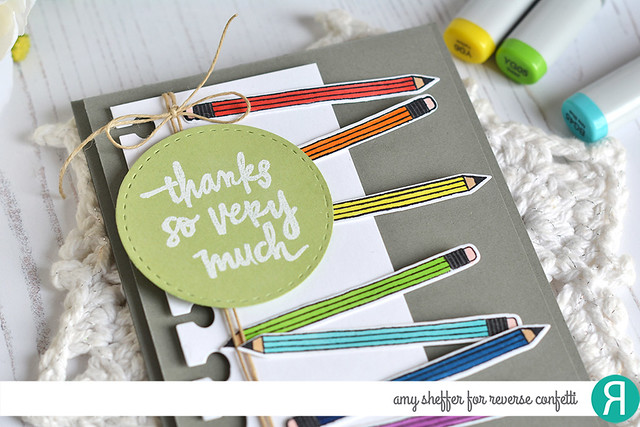
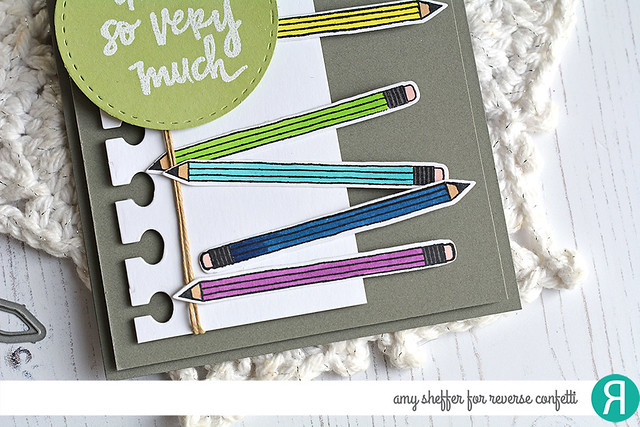
Thanks So Very Much - March SFYTT

Thanks So Very Much

Reverse Confetti's March Sketch For You To Try is winding down. If you haven't yet played along, why not whip up something fun with this month's sketch? The winner receives a $20 Reverse Confetti gift certificate! Deadline to enter is noon CST Wednesday, March 29.

Here's the March sketch:


And here's my take, rotated 180 degrees:

Thanks So Very Much

The pencil image is from Worm Wishes. I used the Office Edges Confetti Cuts to add the notebook border along the left of the white panel. The sentiment, from Posted Note Sentiments, is embossed onto a stitched border circle that I die-cut with the Pop Up Circle Confetti Cuts die set.


Friday, March 24, 2017

More Queen & Company Foam Front Shaker Cards

Happy Friday! I'm over on the Queen & Co. blog today with lots of card ideas. Hope you'll visit me over there! In the meantime, here are a few peeks:

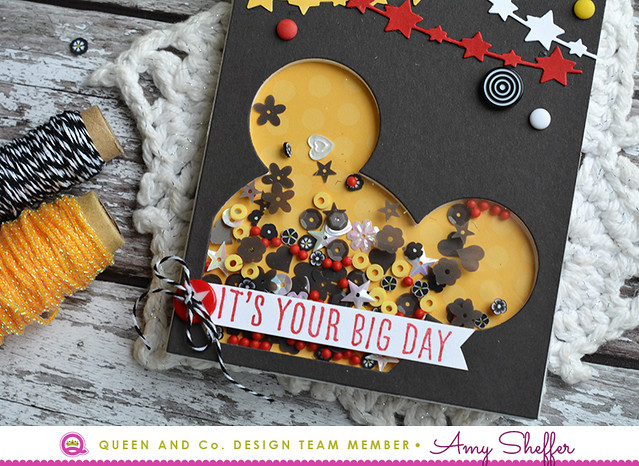
It's Your Big Day

I have a pair of Disney-inspired shaker cards, this first one being in more traditional red, yellow, and black. 

Don't you just love that yummy mix of Toppings in the shaker? I combined a few different products in there: Sequin SprinklesDonutsPosies, and Pops. Up top, along with some star garland die-cuts are some Rivets (I love the Rivets -- think enamel dots with a matte finish) and some Lollies, those lollipop (or bull's eye) embellishments. 

The Magic Foam Front Shaker Kit comes with the foam card front, card base, acetate, and white card stock top layer. I used the Magic Foam Front Die  (sold separately) to make a black top layer instead.


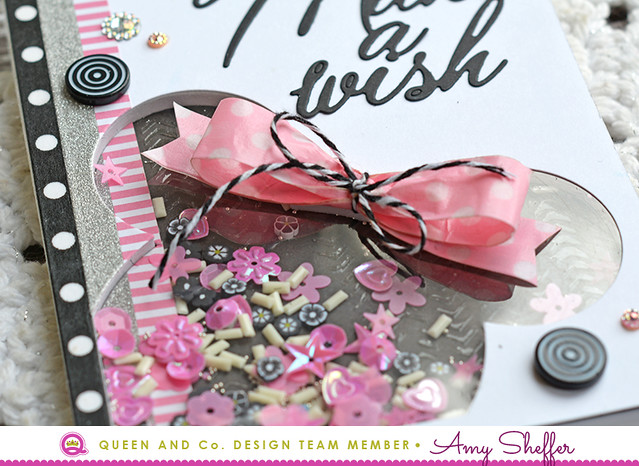
Make A Wish

I also did a pink and very girlie version, again filling the shaker with a mixture of Toppings: Sequin SprinklesPosies  Candy Sprinkles, and Bitty Beads. I've always loved Queen & Company's washi tape! Here I layered three different ones for the border on the left and used another one to make a bow for my mouse ears.


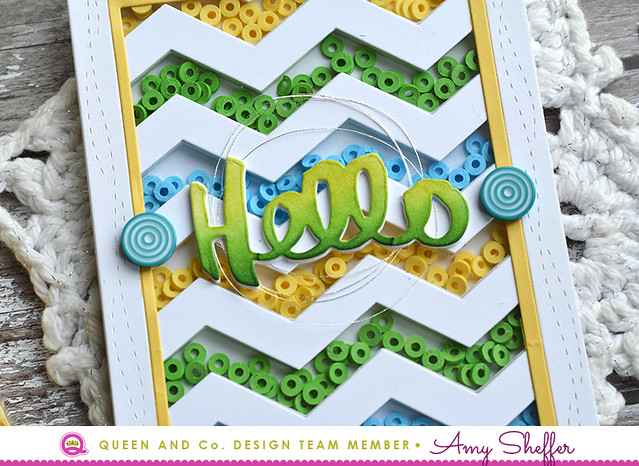
Hello | Foam Front Chevron Shaker Kit

My favorite of today's cards features the Chevron Foam Front Shaker Kit and a mixture of blue, green, and yellow Donuts.


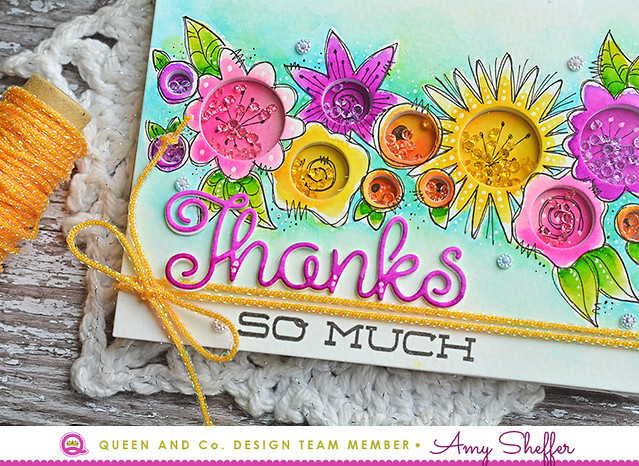
Thanks So Much

And last is an off-beat take on the Bubbles Foam Front Shaker KitThose flowers are hand-doodled around the "bubbles" and then loosely watercolored for an artsy look. The shakers are filled with Pastel Diamonds.

I've shared all of my steps and lots more pictures on the Queen & Co. blog!

Thanks for visiting! Have a great weekend!


Thursday, March 23, 2017

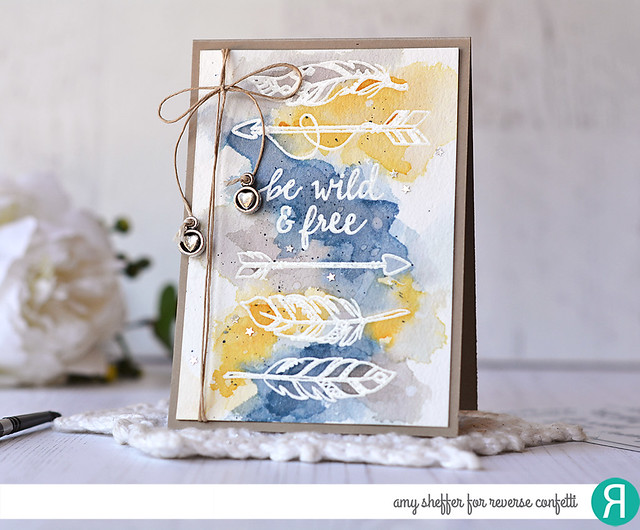
Be Wild & Free

Be Wild & Free

I'm really loving Reverse Confetti's Boho Vibes set. Today, I've watercolored with Distress Inks over clear heat embossed images.


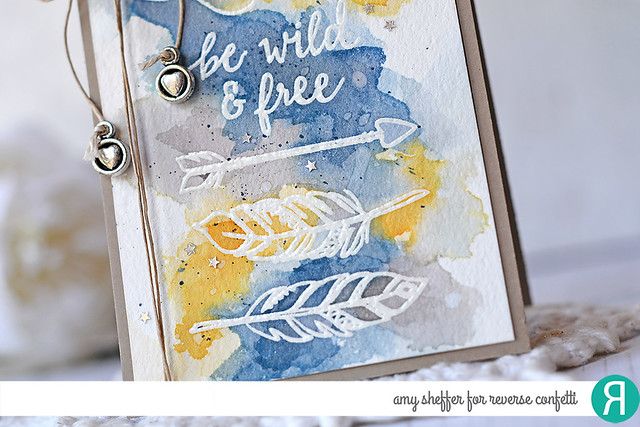
Be Wild & Free

I've used (and really liked) these blue, yellow, and gray colors before: Weathered Wood, Stormy Sky, Scattered Straw, Pumice Stone and I think some Wild Honey for the more saturated gold areas. 


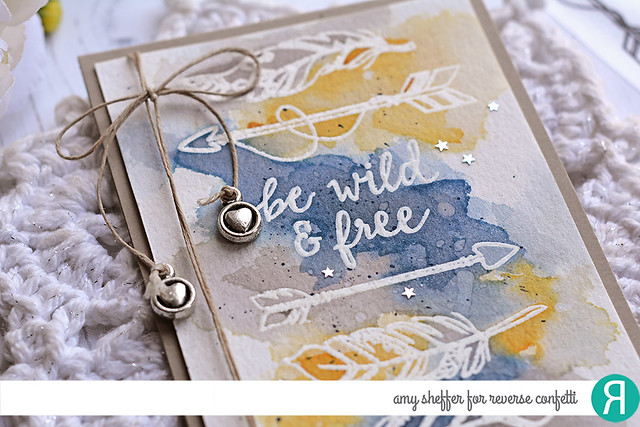
Be Wild & Free

I added some tiny silver stars, ink and water splattering, and some jute twine and beads for simple accents. The watercolor panel is mounted to Reverse Confetti's new Sand card stock.


Stamps: Boho Vibes
Ink: Versamark; Weathered Wood, Stormy Sky, Pumice Stone, Scattered Straw, Wild Honey Distress Inks
Paper: watercolor paper; Reverse Confetti Sand card stock
Other: clear embossing powder, heat tool, jute twine, silver beads, silver sequins


Thanks for stopping by!