Hope you'll take a peek!
Wednesday, May 24, 2017
Wednesday in the Works: Round Top Tag Treat Wrap
Hope you'll take a peek!
Friday, May 19, 2017
Hey Friend
I have a super quick card idea for you today using some beautiful floral and bling embellishments from Queen & Co. I'm working with a sweet springtime color combo, but today's card is very easily adapted to any color combo.
I started with a top-fold white linen card base, then adhered a loop-de-loo of black striped Twine to the card base. Next I added a trio of flowers and accented each of those with smaller flowers and bling in the same color as each flower.
To complete the card, I stamped a sentiment in aqua ink and added two vertical strips of patterned paper from the Flirty Florals 6x6 paper collection.
See how easy-peasy, quick and breezy that was!
Thanks for visiting!
Thursday, May 18, 2017
Dream
The card below (which I blogged about HERE) uses the Circle Foam Front ...
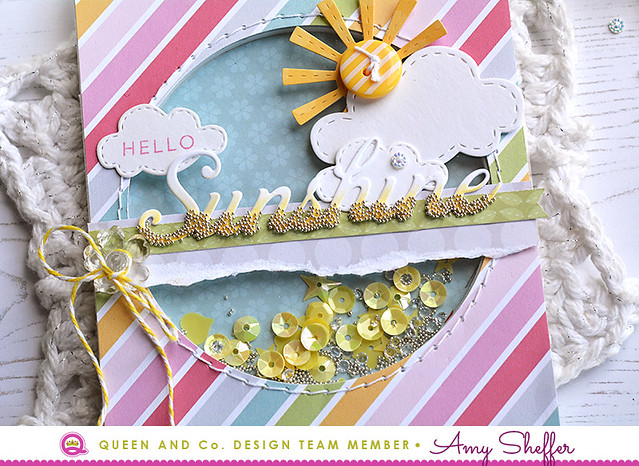
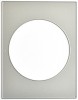
And today's card (below) uses the large circle piece of foam that I removed to create the circle shaker above.
I added a pretty floral pattern circle die-cut to the foam circle and topped that with a vellum butterfly. Together they have such a soft and dreamy look!
Before adhering the patterned paper circle to the foam circle, I stitched the vellum butterfly onto it, first stitching from the back to the front, through both the patterned paper and vellum, then through the shanks of two Green Flower Buttons, and then last, stitching front to back through the vellum and patterned paper and tying off on the back of the patterned paper. Once the stitching was finished, I adhered the patterned paper circle to the foam circle.
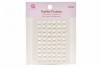
For the card base, I picked out two more soft, sweet patterns from the Flirty Florals Mat Stack and layered them, allowing just the tiniest bit of pink gingham to peek out from behind the gray polka dot pattern. Next I adhered the foam circle to the center of the card and accented with Yellow and Pink Iridescent Flowers, a blue Glitter Flower, leaf die-cuts, White Iridescent Pearls and White Petite Posies.
For one final finishing touch, I wrapped Pink Sparkle String around the foam circle. I like how the string adds some definition and sparkle to the foam circle and also camouflages the vertical edge.
The foam front shaker "leftovers" are every bit as pretty and useful as the foam fronts. Be sure to save them for even more mileage from these kits!
Thanks for stopping by today!
Wednesday, May 17, 2017
Wednesday in the Works: Honeycomb Background
I'm over on the Reverse Confetti blog and YouTube channel with a Wednesday in the Works project and video for you. Hope you'll check it out!
I've used the Hello & Thanks Label Confetti Cuts die to cut multiple labels from a card-size panel. The result is a frame that is perfect for a color-blocked design. Here's a peek at the first card I did ...
... which inspired the honeycomb background that I made for today's card and video:
Check it all out on the Reverse Confetti blog and YouTube channel!
Thanks for stopping by!
Tuesday, May 16, 2017
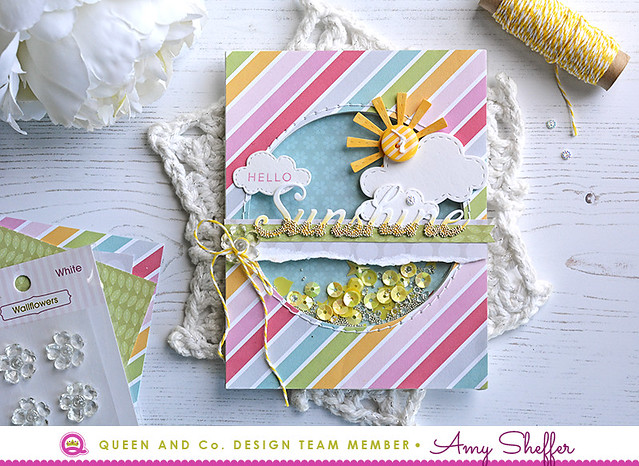
Hello Sunshine Shaker Card
Hello, hello! I'm bringing some sunshine your way today! I have a few cards I made a while back for Queen & Co., so watch for those over the next week or so.
Today's card was done with one of Queen & Co.'s easy-to-use foam front shaker kits. This one is the Foam Front Shaker Kit - Circle. I also used the coordinating Foam Front Die - Circle. to cut the diagonal stripe patterned paper.

Those pretty papers are all from Queen & Co.'s Flirty Florals 6x6 Mat Stack. I filled the shaker with a mixture of yellow, clear and silver toppings -- Sequin Sprinkles, Bitty Beads, and Diamonds Pastel.
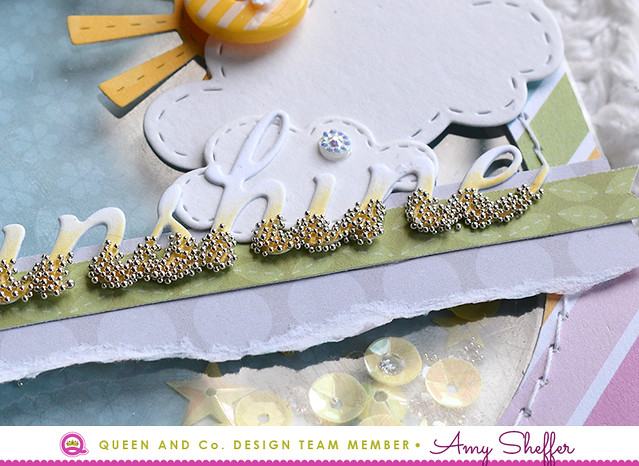
I added some yellow ink blending to the word die-cut and then some silver Bitty Beads to the bottom of the letters to give it a dipped look.