Tuesday, May 16, 2017

Hello Sunshine Shaker Card

Hello Sunshine Shaker Card

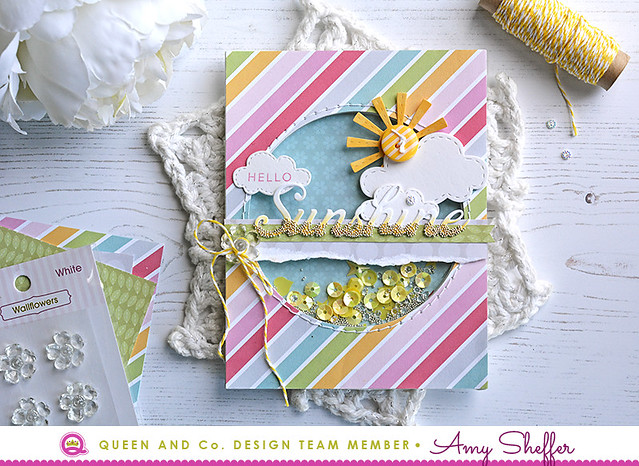
Hello, hello! I'm bringing some sunshine your way today! I have a few cards I made a while back for Queen & Co., so watch for those over the next week or so.

Today's card was done with one of Queen & Co.'s easy-to-use foam front shaker kits. This one is the Foam Front Shaker Kit - Circle.  I also used the coordinating Foam Front Die - Circle. to cut the diagonal stripe patterned paper. 

Hello Sunshine Shaker Card


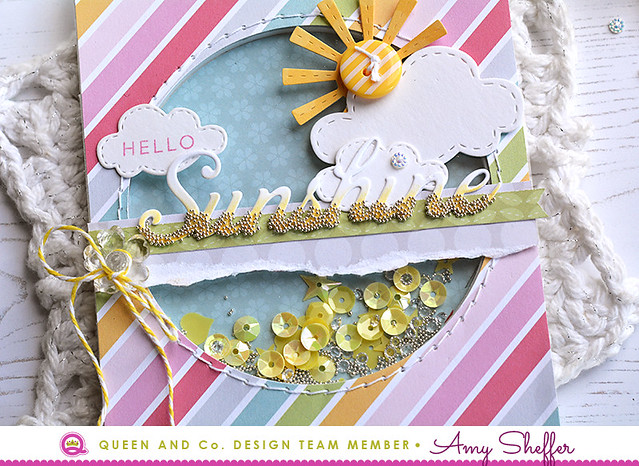
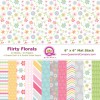
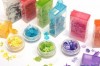
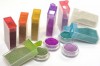
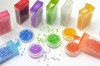
Those pretty papers are all from Queen & Co.'s Flirty Florals 6x6 Mat Stack. I filled the shaker with a mixture of yellow, clear and silver toppings -- Sequin SprinklesBitty Beads, and Diamonds Pastel.


Hello Sunshine Shaker Card

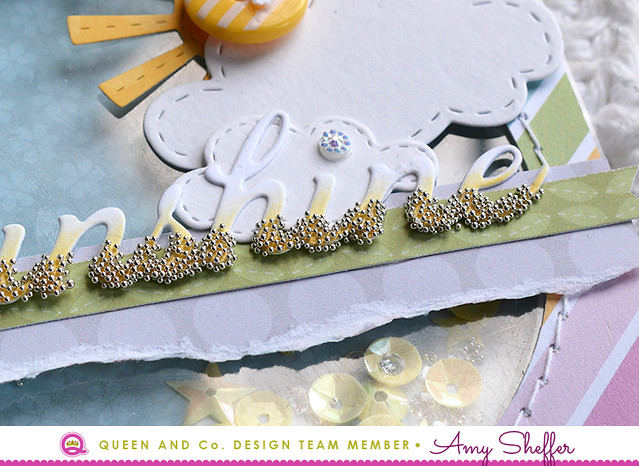
I added some yellow ink blending to the word die-cut and then some silver Bitty Beads to the bottom of the letters to give it a dipped look. 


Thanks so much for stopping by!


Friday, May 12, 2017

Congrats, Grad

Congrats, Grad

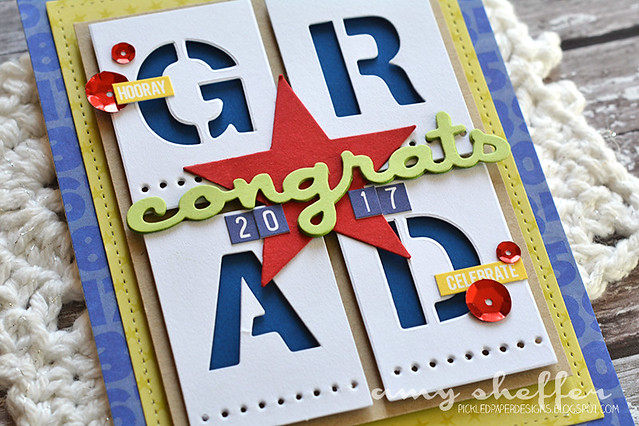
Yesterday I shared cards built around Jillibean Soup's corrugated alphabet. Today's graduation card was built around Jillibean Soup's Alpha Tiles, which are available in white, kraft, denim, and vellum. Aren't they fun?


Congrats, Grad

I popped up the Alpha Tiles onto navy blue card stock scraps, then adhered those to a Kraft card stock mat. The red star and green "congrats" die-cuts were done with Papertrey Ink dies, and the little "2017" stickers are from Jillibean Soup's Navy Mini Alphas


Finishing details were some red adhesive sequins and tiny word stickers, also from Jillibean Soup. The card base and green star stitched rectangle panel are from papers in the Souper Celebration collection by Jillibean Soup.

Look for Jillibean Soup products at your favorite retailer or shop online in Jillibean Soup's online retail store.

Thanks for visiting!

Thursday, May 11, 2017

Mother's Day, Father's Day

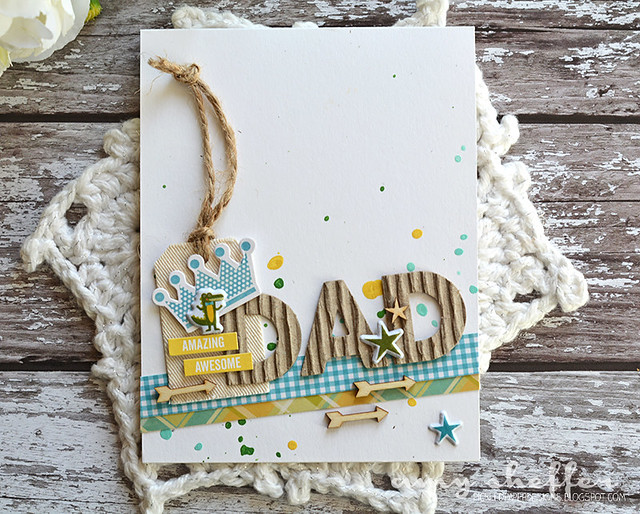
Amazing, Awesome Dad

Hey there, I have two very similar cards to share today, each building off of Jillibean Soup's Hardy Hodgepodge corrugated alphas -- one for mom and one for dad. These would be great not just for Mother's Day/Father's Day, but also for birthdays.

For both cards, I pulled bits and pieces from Jillibean Soup's Souper Celebration and Bowl of Dreams collections (in addition to the Hardy Hodgepodge letters). Supplies are listed in full below.

Here's one for Dad:

Amazing, Awesome Dad

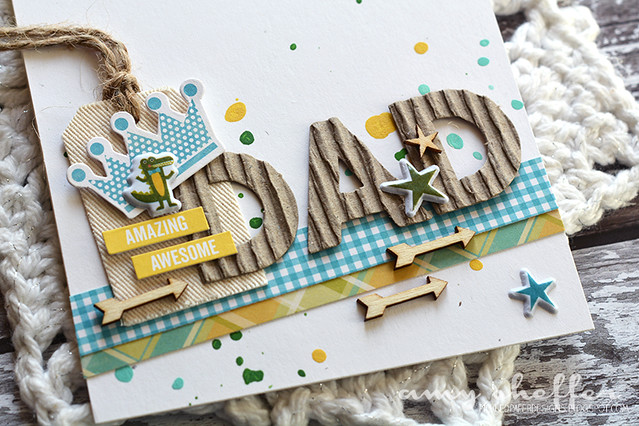
I love all the texture -- corrugated alphas, canvas tag, the thick twine on the tag, the puffy stickers, and the wood veneer elements.

I also pulled out some of Jillibean Soup's Happy Hues acrylic paints for the splatter in the background. Love the messy look!

Jillibean Soup Supplies: 
Patterned Paper: Souper Celebration/Cup of Ceremony, Bowl of Bash
Coordinating Stickers: Souper Celebration
Pea Pod Parts: Souper Celebration
Puffy Stickers: Souper Celebration
Wood Veneers: Souper Celebration, Bowl of Dreams
Tag: Canvas
Happy Hues: Yummy Yellow, Groovy Green, Amiable Aqua

Other Supplies:
Papertrey Ink rustic white cardstock


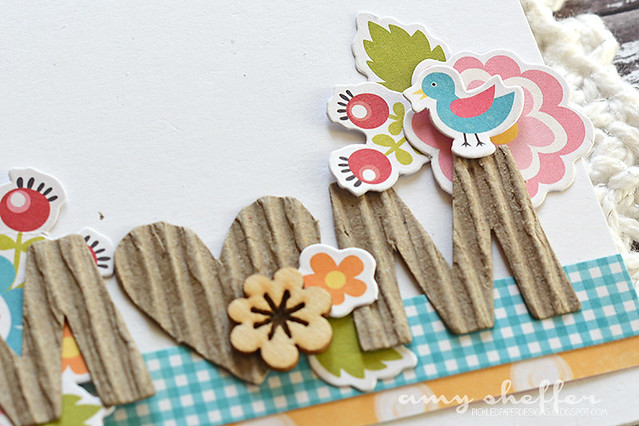
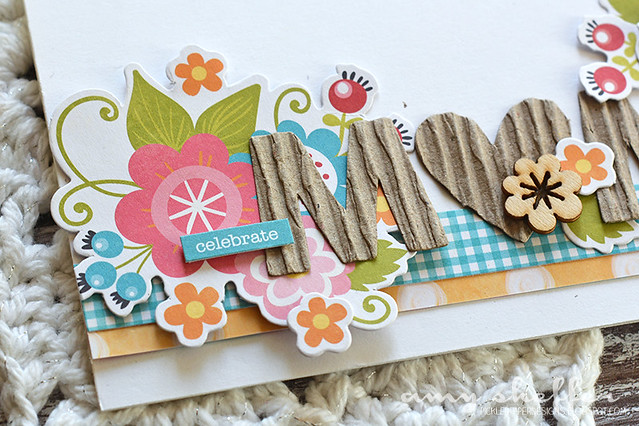
Celebrate Mom

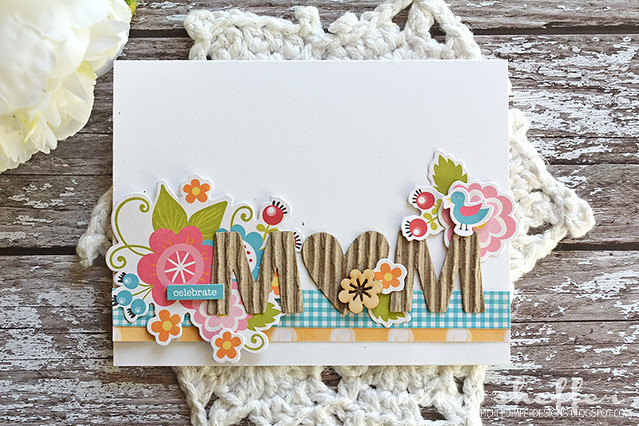
And next is a feminine version. This one came together in minutes thanks to the pretty Pea Pod Parts die-cuts (these are all from Souper Celebration).


Celebrate Mom

Again, look at that texture the corrugated letters add!


Celebrate Mom


Jillibean Soup Supplies:
Patterned Paper: Souper Celebration/Cup of Ceremony; Bowl of Dreams/Pie in the Sky
Coordinating Stickers: Souper Celebration
Pea Pod Parts: Souper Celebration
Wood Veneers: Souper Celebration
Corrugated Letters: Hardy Hodgepodge Soup

Other Supplies:
Papertrey Ink rustic white cardstock


Look for Jillibean Soup products at your favorite retailer or shop online in Jillibean Soup's online retail store.

Tuesday, May 9, 2017

Looped Sparkle String Flowers + Wedding Congrats

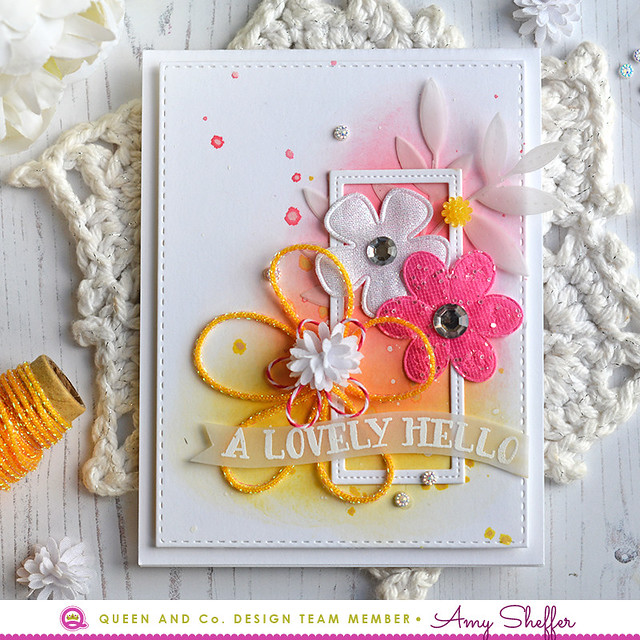
Queen & Co. | A Lovely Hello

I'm up on the Queen & Company blog today with a pair of cards featuring some beautiful Queen & Co. flower products. It's a whole month of flowers over there, so visit often for inspiration and ideas!

My first card combines some different fabric flowers (White Iridescent FlowersPink Glitter FlowerWhite Pom Flower), a few smaller flower embellishments (Yellow SparklersWhite Petite Posies), and even a layered DIY flower that I made out of looped Yellow Sparkle String and pink/white baker's twine from the Twine Assortment.

The white small stitched frame, sentiment, sentiment banner, and vellum leafy branch are all from Papertrey Ink.


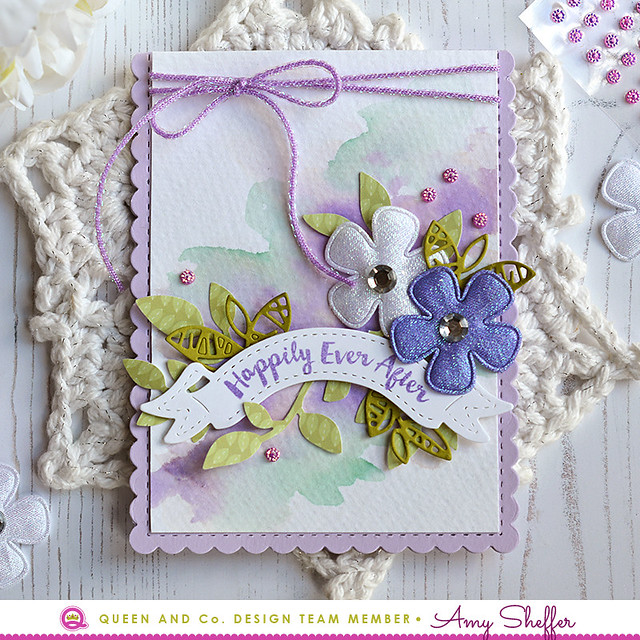
Queen & Co. | Happily Ever After

My next card came largely out of my scrap bin (all Papertrey Ink scraps). I love when that happens! Check out the soft shimmer of the Iridescent Flowers. To accent the larger flowers, I placed some Purple Petite Posies around them. Last thing was some Purple Sparkle String tied around the top.

Supplies: Flirty Florals Paper PadWhite Iridescent FlowersPurple Iridescent FlowersPurple Petite PosiesPurple Sparkle String


Visit me on the
Queen & Company blog for more card details and photos.

Thanks for stopping by!


Monday, May 8, 2017

Papertrey Ink Traveler's Journal Pockets


It's Traveler's Journal feature day at Papertrey Ink, and I'm excited to share what I've been working on! This month is all about pockets and different ways to use them in your traveler's journals. We also have a new die set coming called Traveler's Journal: Booklet Accessories. Lots of bits and pieces in this die set, which I'll share more of below.

This and all the other new products will be available at 10pm EST May 15 in the Papertrey Ink store. 


For today's projects, I've put together a few more memory-keeping spreads from my family's April activities. I mentioned last month how much I'm loving getting back into memory keeping, especially in this small format. I'm also finding (just like with my cards) that I like a "chunky" book with lots of layers, inserts, and other bits and pieces. Pockets are perfect for my style and my needs. In the spreads I'm sharing below, you'll see some different ways I've used pockets for extra journaling. They really help you get the most out of your page real estate!

Warning, picture heavy post! (Supplies are all listed at the end, too.)


I'm continuing right where I left off for last month's post. On the left I've used the Booklets Accessories pocket to add a place for a new-to-us recipe that I want to remember. I fixed something called Sunrise Scramble from Melissa Joulwan's Well Fed 2. The Sunrise Spice seasoning blend was SO SO good that it needed to be documented, and the pocket was the perfect format. 


On the front of the insert is the recipe and on the back is some journaling about the recipe. 


On the right side, I've included a photo of my cat and dog chillin' on the same sofa. As the label says, this is the closest they've been to each other in the four years we've had them! There is a polaroid-style frame included in Booklets Accessories. My picture didn't quite fit, so I just used it as a layering element instead. It's the Aqua Mist one in the back. The label is stamped with the Traveler's Journal: Dates images. The type was done using a vintage typewriter. Heather does this, and I love the look (and happen to have a typewriter, too).


Next begins a series of pages around a three-day All-Virgina Orchestra event my oldest son got to participate in. Here I've slipped a glassine bag into the booklet itself. Booklet Accessories comes with dies to cut holes into pages and other things. I found the middle of the bag, die-cut the holes, and then treated the bag as its own page. You'll see the other half of the bag on a later spread. 


The label in the the top left corner is part of Booklet Accessories too. (The set really IS filled with wonderful bits and pieces!) I stamped it with a caption from Traveler's Journal: Typed Notes.


The bag insert makes a wonderful pocket here for a large tag filled with journaling.


Heres what the spread looks like with the tag pocket folded to the other side.


More journaling on the back.


This was the day of the actual concert, which was so amazing. I wanted to record both some information about the concert programming as well as the actual music selections, and again, a pocket was perfect for all of that info. I used the Stitched Tag pocket layer and stitched it right onto the page.


Journaling on the front, music selections on the back.


And my last spread for today documents my attempt to get a good photo of my two oldest. If you look closely, you'll see that there is not one photo where they are both looking at me and smiling. I usually have one or two attempts with my oldest before he is just done and stone-faced. My daughter is the silly one and seems to have inherited her mother's talent for closing her eyes in photos!

This is also where the other half of the glassine bag appears. I didn't need it in the same way I needed it on the first half, but when you put these in as page inserts, the other half isn't move-able, so you just need to work with it ;)


Here the Booklets Accessories label makes a nice backdrop for a grouping of elements.


I tucked some simple journaling into the glassine bag pocket, using one of the Booklet Accessories dies for a pull tab.


The back of the glassine bag is decorated too. I may do some journaling or stamping in that white space to the right, but i haven't decided exactly what yet (if anything).

That's it for today! What about you, do you like things layered and chunky or trim and lean?

My supply list is lengthy, but most of the little bits and pieces were things I pulled from my scrap bin. Something about these little booklets makes it so easy to mix and match random leftovers in new ways. I don't feel the same pressure to make everything "work" -- it's quite freeing!


Stamps: Moments Inked: Divided, Planner Banners; Traveler's Journal: Dates, Typed Notes; Monthly Moments: Tabbed; Palm Prints; Star Scribbles

Dies: Traveler's Journal: Booklet Accessories; Moments Inked: Divided, Planner Banners; Monthly Moments: Journal Card 5; Palm Prints; Songbirds; Leaf & Sprig Frames; Star Scribbles; Tiny Tags; Sketched Stars; Small Sketched Stars; Stitched Tag; Fancy Foliage Details; Limitless Layers: Heart Stitches; Bitty Button Stacks

Ink: Mint Julep, Pinefeather, Aqua Mist, Fresh Snow, Hawaiian Shores, Blueberry Sky, Enchanted Evening, Stormy Sky

Paper: Traveler's Journal: Page Blanks; Kraft, Mint Jule, Aqua Mist, Fresh Snow Linen, Blueberry Sky, Enchanted Evening, Pure Poppy card stock; Mint Julep + White Basics; Soft Stone Stripe; vellum

Other: mini paper clip, tiny attacher, ink blending tool, white linen thread, Enchanted Evening baker's twine, glassine bag, enamel dots, corner rounder, typewriter, alphabet stickers 


Thanks so much for joining me today! Be sure to visit Nichole's blog today for lots more Traveler's Journal inspiration!


SaveSave

Reverse Confetti May Release Hop


Hey there! It's Release Day at Reverse Confetti, and we are blog hopping to celebrate! All of the new products are now available!


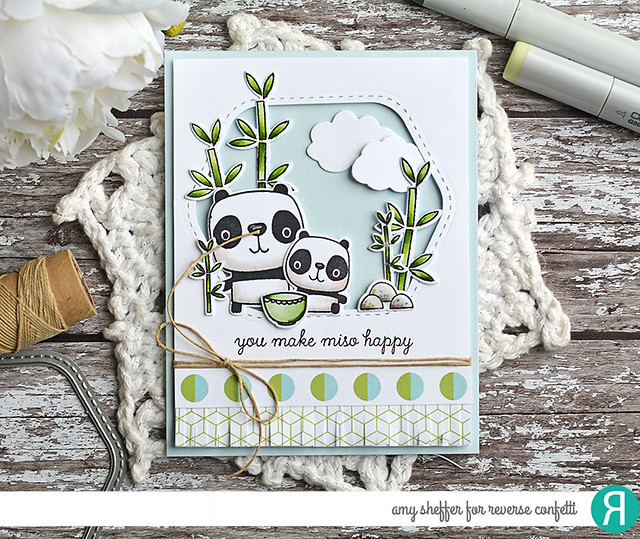
I've got two more projects to share today, the first one featuring the sweet pandas from Miso Happy.

You Make Miso Happy

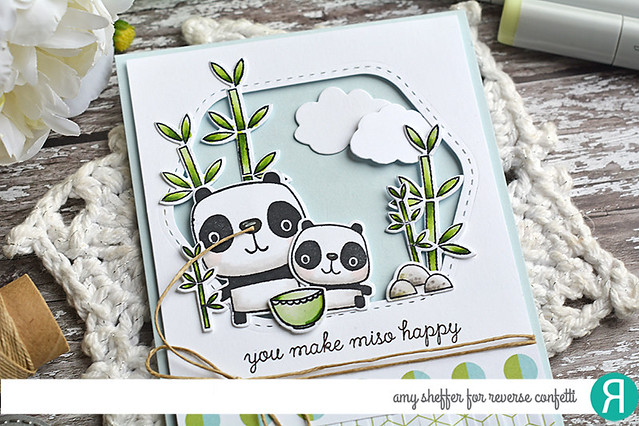
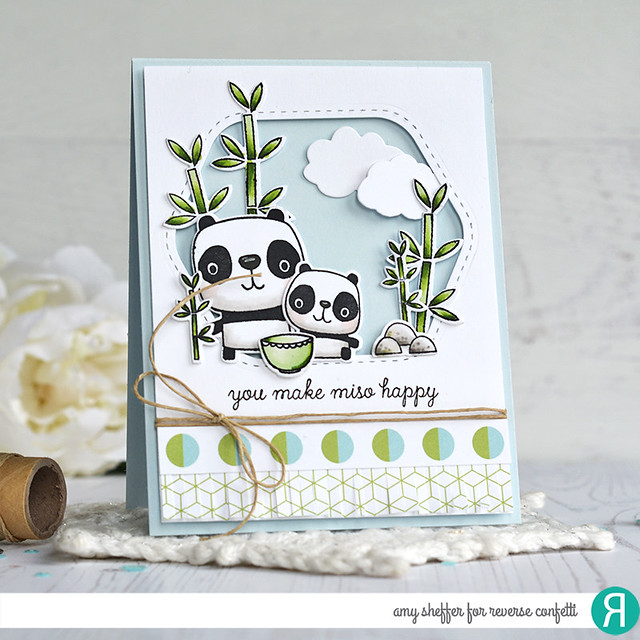
I started by cutting a Hello & Thanks Label opening in a panel of white card stock and layering it over a Mist card base to create the stitched edge window. To the bottom I layered on two patterned paper strips from the Pattern Play 6x6 Paper Pad, creating a fringe out of the lower border with fringe scissors.


You Make Miso Happy

And then I just arranged the adorable Miso Happy images around the window. The images are all stamped, die-cut with the Miso Happy Confetti Cuts dies, and colored with Copics. 


You Make Miso Happy

These guys are SO adorable!


Stamps: Miso Happy
Ink: Midnight
Paper: Neenah Solar White card stock, Reverse Confetti Mist card stock, Pattern Play 6x6 Paper Pad
Other: jute string, Copic markers


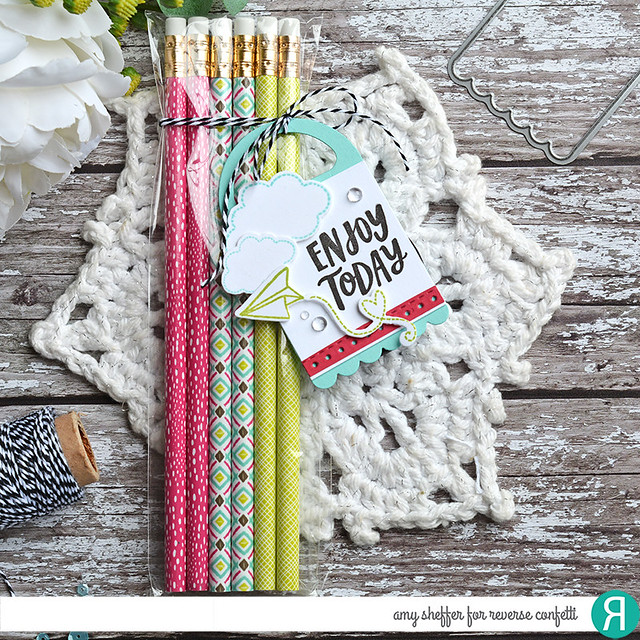
Enjoy Today

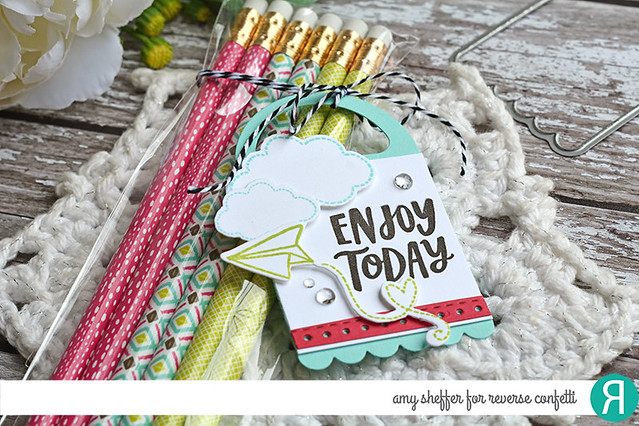
  Next is a cute little Round Top Tag with some Take Flight stamps and die-cuts. I adore this tag design - the shape, the size, the layers, the handle cut-out. For this tag, I started with a base in Iced Aqua with the half-circle handle cut out, then layered on some White and Rose strips, adding a stitching hole and perforated line detail with the Edge Essentials Confetti Cuts border dies. 


Enjoy Today

The white strips was stamped with a Take Flight sentiment image. Last, I adhered the stamped/die-cut clouds and paper airplane, as well as a trio of Dew Drops. I picked up these pretty pencils in the Target Dollar Spot not too long ago. They make a darling favor or small gift. 


StampsTake Flight
Ink: Midnight, Lime Green
Paper: Cloud White, Iced Aqua, Rose card stock
Other: Charcoal striped twine, Dew drops


For more new release inspiration, visit the Reverse Confetti team and special guests:


Thanks so much for visiting!