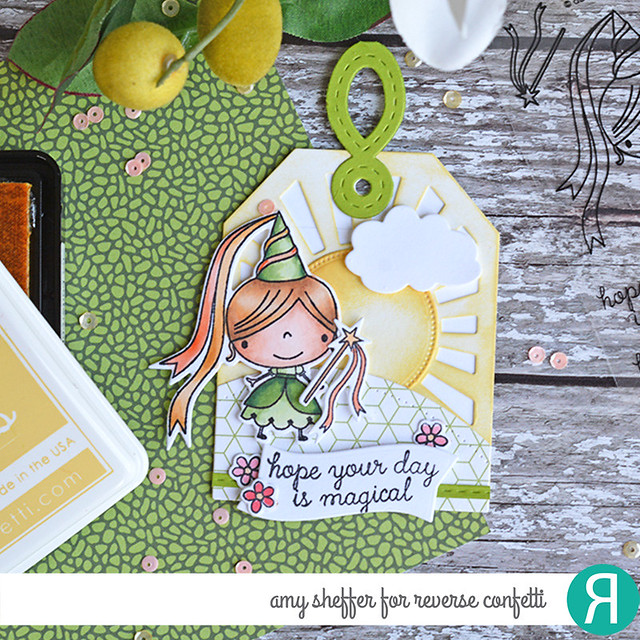
Happy Thursday, friends! I headed to my studio this morning to whip up a simple princess tag using Reverse Confetti's Magical Day stamps and dies. One thing led to another, and I ended up pulling out all sorts of dies and adding all sorts of layers to enhance my little tag. While not so simple anymore, it sure is cute! I love how well Reverse Confetti's dies play together!
In the very background is a white tag that I die-cut with the Topped Off Tag. This is the tag that serves as the base for so many of Reverse Confetti's tag layers. (I did a video a while back showing all the different layers and looks you can get. You can watch that HERE.)
Next comes the Sunburst Tag Layer, which I die-cut in Premier Polar White Card Stock, then ink blended with Buttercup ink. In the center of that sun, I added a pierced edge circle layer from the Detailed Circles Confetti Cuts set. I ink blended in the darker Sunshine ink on that one for a little bit of contrast.
The next layer is a hill that I cut from a Pattern Play print using the largest of the Pierced Round Top Layers Confetti Cuts dies. Every sun needs a puffy white cloud, right? This cloud is the smaller cloud in the Sun 'N Clouds Confetti Cuts set.
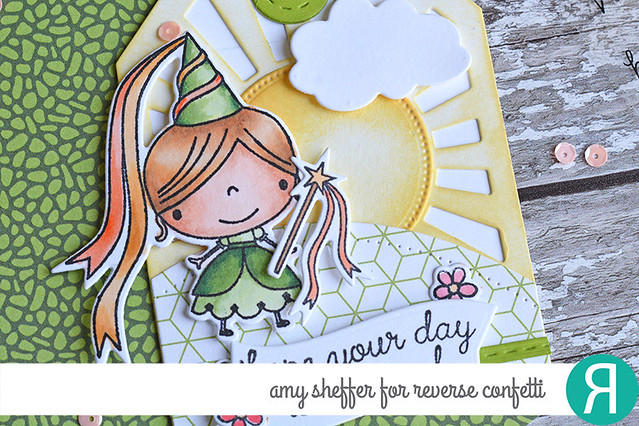
My princess and her wand are stamped with images from Magical Day, diecut with the coordinating Magical Day Confetti Cuts, and colored with Copics. Don't look too closely at my coloring -- looks like I got a bit lazy with my blending ;)
And finally, along the bottom, I added a narrow strip of Lime Green card stock that I die-cut with the stitched border from the Edge Essentials Confetti Cuts. In front of that is a Bitty Banners Confetti Cuts die-cut stamped with a Magical Day sentiment. The banner is accented with sweet little flowers, also from the Magical Day set.


Thanks so much for stopping by!


I love the "lazy" blending! I think it looks more like watercolor, and it's more artistic than smoothing everything out. This is an adorable tag.
ReplyDelete